

OpenSSL is an open-source cryptography library that includes a variety of commands used in the TLS Protocol and Public Key Infrastructure. OpenSSL was released in 1998 and is available for Windows, Linux, macOS, and BSD systems. The OpenSSL command will help you perform various tasks including Certificate Signing Request (CSR), private keys generation, and SSL certification.
OpenSSL is important because it ensures proper SSL implementation. Obtaining SSL the right way is crucial to your website’s security. Moreover, Google, which is a top search engine, gives priority to websites with SSL certificates implemented. Some browsers like Chrome and Firefox may mark your website as Not Secure if you do not have a proper SSL certificate. Thus, it is paramount to serve your website traffic over the encrypted HTTPS protocol.
First Thing First
This tutorial is a cheat sheet style guide, including some but probably not all OpenSSL commands that you may use in everyday scenarios.
The first part explains all you need to know about Certificate Signing Requests (CSR). However, if you are already familiar with it, you can skip to any other section relevant to what you are trying to achieve. Each section contains a command-line snippet to accomplish what the subtitle states.
Let’s start!
Section 1: Understanding Certificate Signing Requests (CSRs)
A certificate signing request is a prerequisite when obtaining an SSL certificate from a certificate authority (CA). The CSR includes the public key of a key pair and some additional information. You need to insert them into the certificate during the signing process.
During the CSR generation, you are prompted to provide identifying information which is known as a Distinguished Name (DN). The DN contains fields necessary to the certificate such as the Common Name (CN), which is the exact Fully Qualified Domain Name (FQDN) of the host that will use the certificate. The other fields of the DN are for additional information such as country, state, locality name, and organization or business name if you are generating certificates specific to your business. You may opt to skip the prompts by providing the information from a file or via the command line.
Take a look at an example of the CSR information prompt in the screenshot below:
|
1 2 3 4 5 6 7 |
Country Name (2 letter code) [AU]:CH State or Province Name (full name) [Some-State]:Zürich Locality Name (eg, city) []:Old Town Organization Name (eg, company) [Internet Widgits Pty Ltd]:Example Cloudsigma Company Organizational Unit Name (eg, section) []:Cloud Technology Common Name (e.g. server FQDN or YOUR name) []:cloudsigma.com Email Address []:info@cloudsigma.com |
You may provide the information in a single-line command to avoid the prompts by adding the -subj flag as shown below, and providing the information for the fields:
|
1 |
-subj "/C=CH/ST=Zürich/L=Old Town/O=Example Cloudsigma Company/CN=cloudsigma.com" |
The above command takes the same information displayed in the code block example of CSR information prompts.
Section 2: Generating Certificate Signing Requests
In this section, we will cover the OpenSSL commands you can use to generate CSR and private keys. CSRs are necessary for requesting SSL certificates from a Certificate Authority (CA).
Generating a Private Key and a Certificate Signing Request
You can use this method if you want a Certificate Authority to issue an SSL certificate to secure your Apache or Nginx server to serve traffic over HTTPS, i.e. HTTP with TLS. The CSR generated with the command can be sent to a CA to request a CA-signed SSL certificate. You can follow our detailed guides on how to set up your Apache or Nginx servers on Ubuntu.
Enter the following command in your terminal to generate a 2048-bit private key (domain.key) and CSR (domain.csr) from scratch:
|
1 |
openssl req -newkey rsa:2048 -nodes -keyout domain.key -out domain.csr |
Answer the prompts with your specific CSR information. Optionally, you may add the -subj flag to the command to avoid the prompts:
|
1 |
openssl req -newkey rsa:2048 -nodes -keyout domain.key -out domain.csr -subj "/C=CH/ST=Zürich/L=Old Town/O=Example Cloudsigma Company/CN=cloudsigma.com" |
The -newkey rsa:2048 flag specifies that the key should be generated using the 2048-bit RSA algorithm. The -nodes flag indicates no passphrase encryption for the private key. There’s a -new option not included but implied to indicate a new CSR is generated.
Generating a Certificate Signing Request from an Existing Private Key
If you already have a private key, then you can use this method to generate a CSR. You will then use it to request an SSL certificate from a CA. Enter the following command to generate a new CSR (domain.csr) using an existing private key (domain.key):
|
1 |
openssl req -key domain.key -new -out domain.csr |
Answer the prompts with your specific CSR information. Optionally, you may add the -subj flag to the command to avoid the prompts:
|
1 |
openssl req -key domain.key -new -out domain.csr -subj "/C=CH/ST=Zürich/L=Old Town/O=Example Cloudsigma Company/CN=cloudsigma.com" |
The flag -key specifies the existing private key (domain.key) to be used to generate a new CSR. The -new flag indicates that a new CSR is being generated.
Generating a Certificate Signing Request from an Existing Certificate and Private Key
If you already have an existing certificate that you would like to use to generate a CSR, then you can use this method. This method can be useful if you or your CA lose the original CSR and you need to generate it using the previously entered CSR information without having to re-enter it. The command extracts the information from the existing certificate. Enter the following command in your terminal to create a new CSR (domain.csr) using an existing certificate (domain.crt) and an existing private key (domain.key):
|
1 |
openssl x509 -in domain.crt -signkey domain.key -x509toreq -out domain.csr |
The -x509toreq option indicates that you are using the X509 certificate to generate the CSR.
Section 3: Generating SSL Certificates
In some situations, you may want to use an SSL certificate without the hassle of getting a CA-signed certificate. This section explains how you can sign your own certificates. It’s valid and free. These certificates are referred to as self-signed certificates, and they are pretty common.
A self-signed certificate is signed with its own private key. Both self-signed and CA-signed certificates work just as well to encrypt data and website traffic. However, with self-signed certificates, users usually get a warning in their browsers that the certificate is not trusted. Thus, you may use self-signed certificates for websites that don’t exchange sensitive information with users, or on non-production servers. Below, you can find the OpenSSL commands that you can use to generate self-signed certificates.
- Generating a Self-Signed Certificate
You can use this method to generate an SSL certificate to secure your Apache or Nginx server. This will ensure that traffic comes with HTTPS, or HTTP over TLS, without going to a CA for signing the certificate:
|
1 |
openssl req -newkey rsa:2048 -nodes -keyout domain.key -x509 -days 365 -out domain.crt |
Answer the prompts with your specific CSR information. Optionally, you may add the -subj flag to the command to avoid the prompts:
|
1 |
openssl req -newkey rsa:2048 -nodes -keyout domain.key -x509 -days 365 -out domain.crt -subj "/C=CH/ST=Zürich/L=Old Town/O=Example Cloudsigma Company/CN=cloudsigma.com" |
The -x509 flag indicates the creation of a self-signed certificate. The -days 365 option specifies the number of days the certificate will be valid. In this case, it is 365 days. You may also choose a different number of days. The command generates a temporary CSR to hold the information you should associate with the certificate.
- Generating a Self-Signed Certificate from an Existing Private Key
This method will help you generate a self-signed certificate from your already existing private key. Enter the following command to generate a self-signed certificate (domain.crt) using an existing private key (domain.key):
|
1 |
openssl req -key domain.key -new -x509 -days 365 -out domain.crt |
Provide the prompts with your specific CSR information. Optionally, you may add the -subj flag to the command to avoid the prompts:
|
1 |
openssl req -key domain.key -new -x509 -days 365 -out domain.crt -subj "/C=CH/ST=Zürich/L=Old Town/O=Example Cloudsigma Company/CN=cloudsigma.com" |
The -x509 flag indicates the creation of a self-signed certificate. The -days 365 option specifies the number of days the certificate will be valid. In this case it is 365 days. You may also choose a different number of days. The -new option initiates the CSR information prompt.
Section 4: Viewing Certificates
Certificates and CSR files are encoded and stored with the .pem extension. It stands for Privacy-Enhanced Mail. It is a file format for storing and sending cryptographic keys, certificates, and other crucial data. PEM files are not readily readable by humans. In this section, you will find commands that you can use to view the entries from the encoded PEM files.
- Viewing CSR files
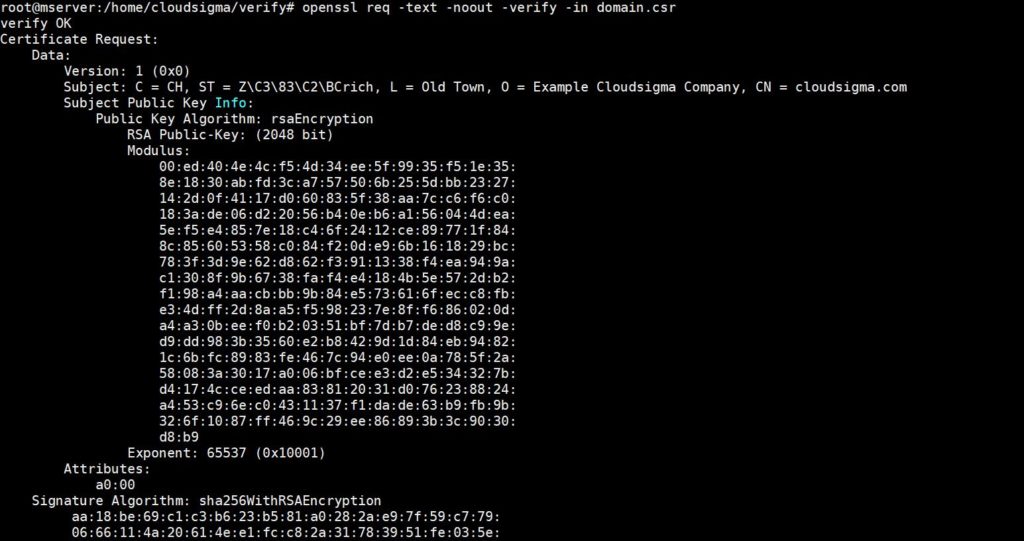
Enter the following command to view and verify the contents of a CSR (domain.csr) on your terminal:
|
1 |
openssl req -text -noout -verify -in domain.csr |
For example, the above command may output something like this:
- Viewing Certificate Entries
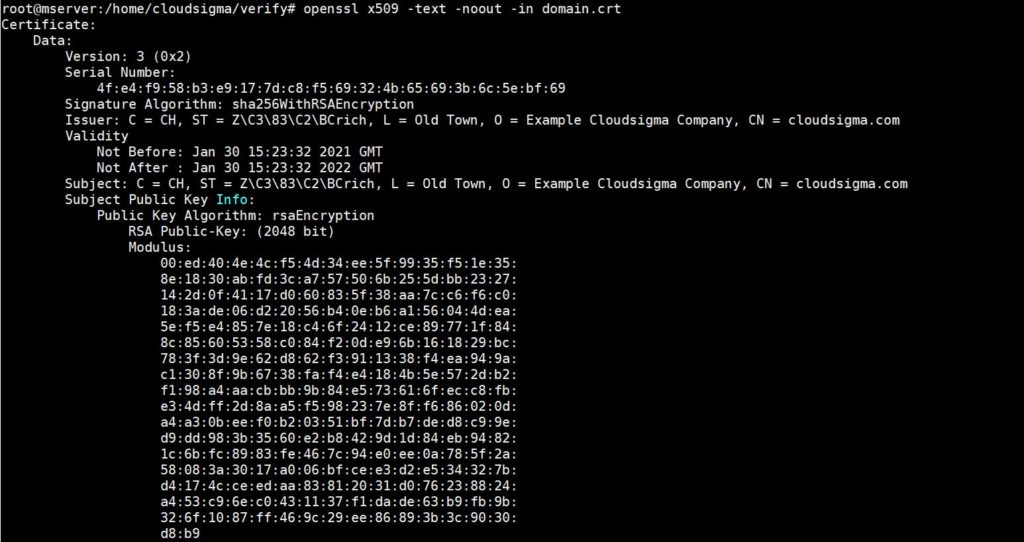
Enter the following command to view the contents of a certificate (domain.crt):
|
1 |
openssl x509 -text -noout -in domain.crt |
The above command may output something like this:
- Verifying a Certificate was Signed by a Certificate Authority
To verify whether a certificate (domain.crt) was signed by a certain CA certificate (ca.crt), enter the following command:
|
1 |
openssl verify -verbose -CAfile ca.crt domain.crt |
Section 5: Private Keys
If you are looking for OpenSSL commands necessary for creating and verifying private keys, this section is for you.
- Creating a Private Key
To create a password protected 2048-bit private key (domain.key), enter the following command in your terminal:
|
1 |
openssl genrsa -des3 -out domain.key 2048 |
The command will prompt you for a password to complete the process. See the screenshot below:

- Verifying a Private Key
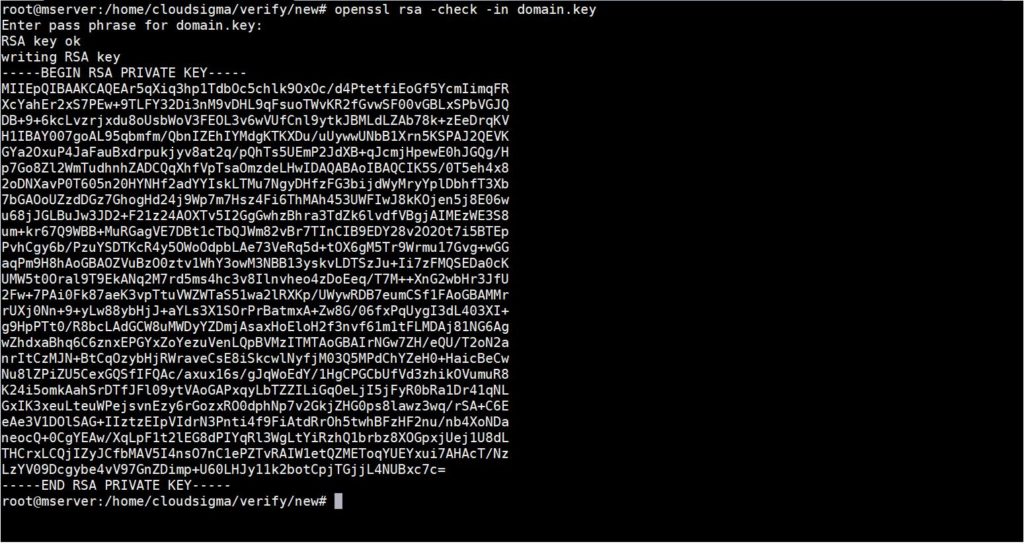
To verify the validity of a private key (domain.key), enter the following command in your terminal:
|
1 |
openssl rsa -check -in domain.key |
Then, you will need to provide a password. If the private key is encrypted and you input the correct passphrase, the unencrypted key will be displayed on the terminal. See screenshot below:
- Verify a Private Key Matches a Certificate and CSR
If you would like to check if a private key (domain.key) matches a certificate (domain.crt) and a CSR (domain.csr), enter the following commands on your terminal:
|
1 2 3 |
openssl rsa -noout -modulus -in domain.key | openssl md5 openssl x509 -noout -modulus -in domain.crt | openssl md5 openssl req -noout -modulus -in domain.csr | openssl md5 |
If you notice the output of the above commands is identical, then it’s possible the private key, certificate, and CSR are related.
- Encrypt a Private Key
If you have an unencrypted private key (unencrypted.key) and you want to get the encrypted version of the key (encrypted.key), enter the following command in your terminal:
|
1 |
openssl rsa -des3 -in unencrypted.key -out encrypted.key |
The command will prompt you for a passphrase to encrypt the private key.
- Decrypt a Private Key
If you have an encrypted private key (encrypted.key) and you want to obtain the decrypted version of it (decrypted.key), enter the following command in your terminal:
|
1 |
openssl rsa -in encrypted.key -out decrypted.key |
The command will prompt you for a passphrase for the encrypted key. If you enter the correct passphrase, it will be decrypted. The output will go to decrypted.key.
Section 6: Converting Certificate Formats
You may notice that so far we have been working with X.509 certificates which are encoded with ASCII PEM. While that is fine, there is a variety of other certificate encoding and container types that you may use. In some applications, you may prefer to use certain formats over others. Moreover, some different formats may hold multiple items such as a private key, CSR, and CA-signed certificate in one file. You can also use OpenSSL to convert between various certificate formats. Read on for some of the OpenSSL commands for certificate format conversion.
- Converting PEM to DER
DER (Distinguished Encoding Rules) is a binary encoding for X.509 certificates and private keys. To convert a PEM-encoded certificate (domain.crt) to a DER-encoded certificate (domain.der), enter the following command:
|
1 |
openssl x509 -in domain.crt -outform der -out domain.der |
You will find most use cases of the DER encoding format in the Java programming language. Follow this tutorial for a quick set up of Java on your Ubuntu server.
- Converting DER to PEM
To convert a DER-encoded certificate (domain.der) to a PEM certificate (domain.crt), enter the following command:
|
1 |
openssl x509 -inform der -in domain.der -out domain.crt<code> |
- Converting PEM to PKCS7
You may want to add PEM certificates, for example, domain.crt and ca-chain.crt to a PKCS7 file (domain.p7b). Here is the command to achieve this:
|
1 |
openssl crl2pkcs7 -nocrl -certfile domain.crt -certfile ca-chain.crt -out domain.p7b |
You may use the -certfile option multiple times to specify the certificates to add to the PKCS7 file. PKCS7 files are mostly relevant for the Java Key stores and Microsoft IIS. Also known as P7B files, they are ASCII files that can comprise certificates and CA-signed certificates.
- Convert PKCS7 to PEM
To convert a PKCS7 file (domain.p7b) to a PEM encoded file (domain.crt), enter the following command in your terminal:
|
1 |
openssl pkcs7 -in domain.p7b -print_certs -out domain.crt |
- Converting PEM to PKCS12
To combine a private key (domain.key) and a certificate (domain.crt) into a PKCS12 file (domain.pfx), enter the following command:
|
1 |
openssl pkcs12 -inkey domain.key -in domain.crt -export -out domain.pfx |
The command will prompt you to enter the export passwords, which you can optionally leave blank. You may chain many certificates to the PKCS12 file by concatenating the certificates in a single PEM file (domain.crt). PKCS12 is also known as PFX and is mostly used in Microsoft IIS.
- Convert PKCS12 to PEM
To convert a PKCS12 file (domain.pfx) to a PEM encoded format (domain.combined.crt), enter the following command:
|
1 |
openssl pkcs12 -in domain.pfx -nodes -out domain.combined.crt |
The PEM file created by the above command contains all the multiple items the PKCS12 was holding.
Section 7: Checking OpenSSL Version
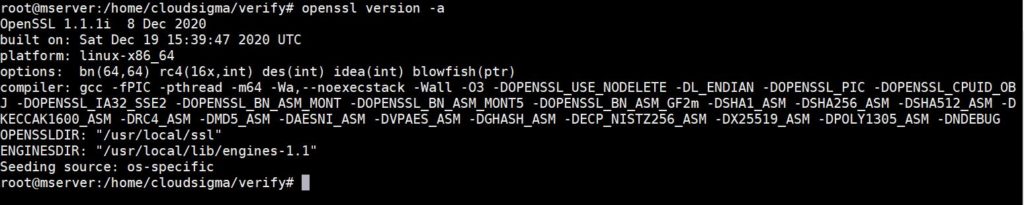
The version of any software you are running may affect the capabilities of the applications you are running. Hence, there is a need to ascertain the version. The same applies to OpenSSL. Some command-line options may be missing in one version and available in another version. To view the version of OpenSSL that you are running, enter the following command:
|
1 |
openssl version -a |
Below is the output we got when we ran the above command as we were creating this tutorial:
|
1 2 3 4 5 6 7 8 |
OpenSSL 1.1.1i 8 Dec 2020 built on: Sat Dec 19 15:39:47 2020 UTC platform: linux-x86_64 options: bn(64,64) rc4(16x,int) des(int) idea(int) blowfish(ptr) compiler: gcc -fPIC -pthread -m64 -Wa,--noexecstack -Wall -O3 -DOPENSSL_USE_NODELETE -DL_ENDIAN -DOPENSSL_PIC -DOPENSSL_CPUID_OBJ -DOPENSSL_IA32_SSE2 -DOPENSSL_BN_ASM_MONT -DOPENSSL_BN_ASM_MONT5 -DOPENSSL_BN_ASM_GF2m -DSHA1_ASM -DSHA256_ASM -DSHA512_ASM -DKECCAK1600_ASM -DRC4_ASM -DMD5_ASM -DAESNI_ASM -DVPAES_ASM -DGHASH_ASM -DECP_NISTZ256_ASM -DX25519_ASM -DPOLY1305_ASM -DNDEBUG OPENSSLDIR: "/usr/local/ssl" ENGINESDIR: "/usr/local/lib/engines-1.1" Seeding source: os-specific |
Below you can find the actual screenshot:
Conclusion
In this tutorial, we explained what OpenSSL is, covered certificate signing requests (CSR) and some of the crucial OpenSSL commands you can use in your server environment.
Are we missing a crucial command or are you having issues with any of the commands in your server setup on CloudSigma? Feel free to contact our 24/7 customer support team on real-time chat to discuss it.
Happy Computing!
- How To Create a Kubernetes Cluster Using Kubeadm on Ubuntu 18.04 - June 24, 2021
- Nginx Server and Location Block Selection Algorithms: Overview - May 14, 2021
- Configuring an Iptables Firewall: Basic Rules and Commands - April 5, 2021
- How to Configure a Linux Service to Auto-Start After a Reboot or System Crash: Part 2 (Theoretical Explanations) - March 25, 2021
- How to Configure a Linux Service to Auto-Start After a Reboot or System Crash: Part 1 (Practical Examples) - March 24, 2021