

Introduction
Nginx is a high-performance web server that is also used as a reverse proxy, mail proxy, load balancer, and HTTP cache. Nginx is free and open-source, allowing anyone to download and use it in their server environment.
You may have already used Nginx to serve websites. In this tutorial, we will be discussing the other capabilities of Nginx. The HTTP proxying capability of Nginx allows it to pass requests off to backend HTTP servers for processing. With this feature, you can set up multiple backend servers. It allows you to scale your infrastructure as needed to handle surges in client requests.
As we progress with the tutorial, you will learn about scaling your infrastructure using Nginx load balancing properties, buffering, and caching responses to improve your server performance as well as ensuring a better experience for clients. Let’s start!
First things first, to get started with Nginx take a look at our tutorial on how to install Nginx on your Ubuntu server.
General Information about Proxying
If your knowledge about web servers is only about processing website requests and serving web pages, you may be wondering why we need to proxy requests. Below we will explain the reasons behind it.
One reason to proxy requests to other servers from Nginx is to support the scalability of your infrastructure. Nginx by default handles many connections concurrently. This makes it perfect to be the first point of contact for clients. And then it can pass the requests to various backend servers to handle the actual processing of the client requests. This is what spreads the load. Hence, it ensures you can scale your infrastructure as much as possible. It also enables you to take down other servers for maintenance while others continue to serve requests.
The second reason you may want to proxy requests to other servers is when you are using application servers that are not suitable to handle requests directly from clients in live production environments. Several frameworks including web servers are not suitable for high performance like Nginx. Letting Nginx be the entry point and proxy requests to these low-performance servers can ensure your users have a better experience. Additionally, it can guarantee increased security for your application.
The process of proxying requests in Nginx involves manipulating a request from the Nginx server and passing it to other backend servers for the actual processing. Once the other backend servers have processed the request, they pass the result back to Nginx. It then sends the result as a response to the client. The client in this case is a web browser or even a mobile web app. The other backend servers can be local servers that are not publicly accessible on the internet, remote servers, or even other virtual servers within Nginx server blocks configurations. These other servers that Nginx is proxying requests to are referred to as upstream servers.
Nginx can proxy requests to servers that communicate using several protocols including HTTP(S), Memcached, SCGI, FastCGI, and uWSGI. For each type of protocol, there are sets of directives. Our focus for this tutorial is the HTTP protocol. Nginx parses the requests and message components into a format that the upstream server can interpret and process.
Analyzing a Basic HTTP Proxy Pass
The simplest type of proxy involves passing a request to a single server that communicates via HTTP. This type of proxy generally goes by as “proxy pass” and it is handled by the aptly named proxy_pass directive within Nginx configuration files.
The proxy_pass directive appears within location blocks. It is also within blocks of a location context and in limit_except contexts. When a request matches a location with a proxy_pass directive inside, the request goes to the URL that the directive specifies. Below is an example of a configuration snippet:
|
1 2 3 4 |
listen 80; location / { proxy_pass http://127.0.0.1:3000; } |

In the above example, the requests to port 80 would go to localhost:3000:
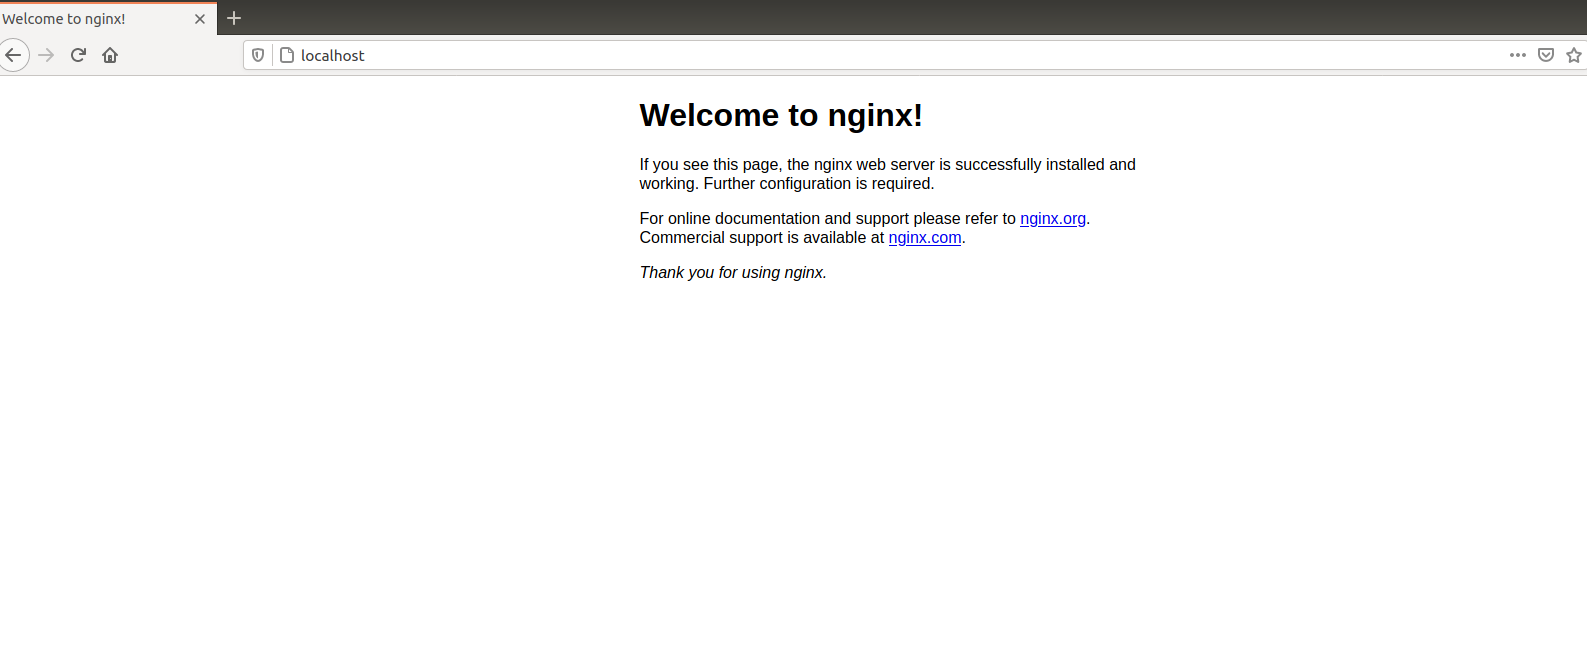
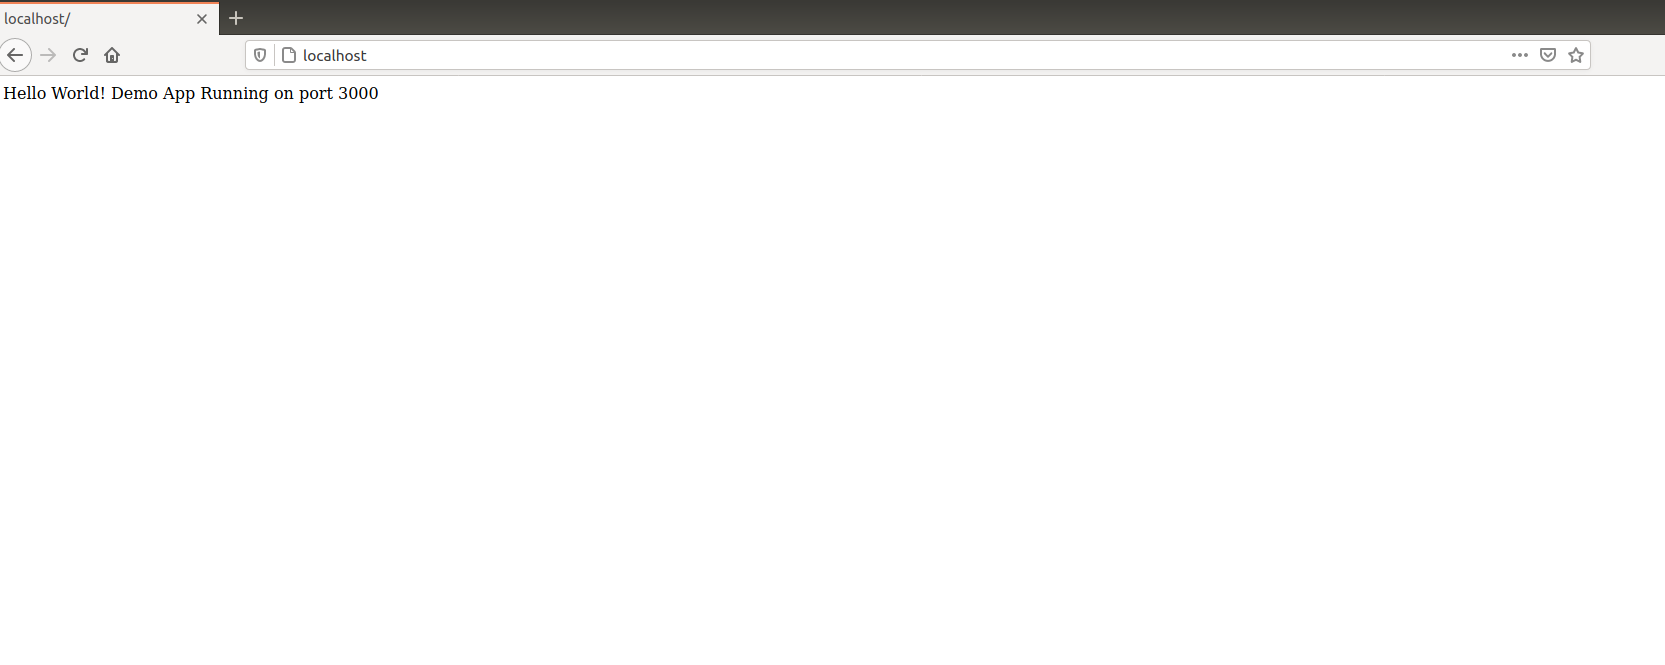
The above screenshot shows the default Nginx page when you try to reach localhost. After restarting the Nginx server with proxy pass directive in effect all the requests will go to port 3000. A demo application is running on the 3000 port which you can see from the image below and you can reach directly from localhost without specifying the port:
In the next example, no URI has been specified at the end of the server in the proxy_pass definition. For definitions fitting this pattern, the URI the client requests will be passed to the upstream server the way it is.
|
1 2 3 |
location /match/url/here { proxy_pass http://example.com; } |
For example, when this block handles a request for /match/url/here, the request URI will go to the example.com server as http://example.com/match/url/here.
Below is an example of an alternative configuration snippet:
|
1 2 3 |
location /match/url/here { proxy_pass http://example.com/new/url/prefix; } |
As you can see in the above snippet, we have defined a URI segment at the end of the proxy server as new/url/prefix. When you define a URI in the proxy_pass definition, the portion of the request that matches the location definition is replaced by this URI when going to the upstream server for processing.
For instance, a request for /match/url/here on the Nginx server passes to the upstream server as http://example.com/new/url/here. The /match/url is replaced by /new/url. Keep this point in mind.
In some cases, the passing of URIs as above is not possible. In such instances, Nginx ignores URI at the end of the proxy_pass definition. Ultimately, either the original URI from the client or the URI that other directives modify is passed to the upstream server.
An example is when regular expressions match the location. Nginx may not be able to determine which part of the URI matched the expression. Hence, it sends the original client request URI. This causes rewriting and handling of the client URI in the same block. In such a case, the rewritten URI is passed.
How does Nginx Process Headers?
Headers are crucial to how a server processes a request. Some headers may include authentication information. Hence, we must understand how Nginx proxying will process the headers. The proxy request from Nginx to the upstream server will look different from the one that came directly from the client. Some of the differences are a result of the headers that go along with the proxy request.
During the proxying of a request, Nginx will make adjustments to the request headers it receives from the client. Some of those adjustments include:
-
Getting rid of all empty headers. Empty headers just bloat the request, so there’s no point passing them to the upstream server.
-
Any headers containing underscores are considered to be invalid by default, hence removed from the request. If you would like to change this behavior and allow Nginx to interpret headers with underscores as valid, then you can specify the underscores_in_headers directive to “on”. If you do not, then such headers from the client will never reach the upstream server.
-
The “Host” header is re-written to the value specified by the $proxy_host variable. This is the IP address or name and port number of the upstream server, as specified by the proxy_pass directive.
-
The “Connection” header value changes to “close”. The connection header holds information about a particular connection established between two parties. When Nginx sets its value to close, it indicates to the upstream server that the connection will close once the original request has been responded to, hence it should not expect it to be a persistent connection.
Here are some points we can note from the proxy request header adjustments outlined above:
-
If you do not want a header passed to the upstream server, then setting it to an empty string will completely remove it from the request.
-
If the application in your upstream server will be processing non-standard headers, ensure that the headers do not have an underscore. Optionally, you can set the underscores_in_headers directive to “on” in your configuration (valid either in the context of the default server declaration for the IP address/port combination or in the HTTP context). Doing so will ensure that the headers are not flagged as invalid and hence will actually be passed to the upstream server.
-
The “Host” header is quite important in most proxying situations. It is by default set to the value of $proxy_host, a variable containing the domain name or IP address and port retrieved from the proxy_pass specification. This address is selected by default and pulled directly from the connection information. It’s the only address that Nginx has a guarantee that the upstream server will respond to.
Below are the most common values for the “Host” header:
-
$host – a variable is set in order of preference to the hostname from the request line itself, the “Host” header from the client request, or the server name matching the request.
-
$http_host – a variable that sets the “Host” header to the “Host” header from the client request. The headers in the client’s request are always available to Nginx as variables. These variables start with an $http_ prefix, and then the header name in lowercase follows. While the $http_host variable will mostly work fine, when the client request lacks a valid “Host” header, it can result in the pass failing.
-
$proxy_host – a variable that sets the “Host” header to the domain name or IP address and port combination retrieved from the specification of the proxy_pass. This is the default behavior, from Nginx point of view, and hence considered safe. However, it may not be what is needed by the server to handle the request correctly.
Most configurations will involve setting the “Host” header to the $host variable. It’s highly flexible and will provide accurately filled headers to the upstream server.
Setting and Modifying Headers
The proxy_set_header directive allows us to set or modify headers for proxy connections. In the “Host” header discussed earlier, we can do the following to modify and add additional headers common with proxied requests:
|
1 2 3 4 5 6 7 8 |
location /match/here { proxy_set_header HOST $host; proxy_set_header X-Forwarded-Proto $schema; proxy_set_header X-Real-IP $remote_addr; proxy_set_header X-Forwarded-For $proxy_add_x_forwarded_for; proxy_pass http://example.com/new/prefix; } |
In the above configuration snippet, we set the “Host” header to the $host variable that contains information about the original host being requested. We set the X-Forwarded-Proto header with information about the schema of the original request from the client (this can either be an HTTP or an HTTPS request).
We pass the actual IP address of the client to the X-Real-IP. This enables the upstream server to appropriately make decisions or store logs based on the client’s IP origin. The X-Forwarded-For header contains a list of all the IP addresses belonging to servers the client has been proxied through before reaching this point. In the code snippet above, we set it to the $proxy_add_x_forwarded_for variable. This variable will take the value of the original X-Forwarded-For header picked from the client and add the IP address of the Nginx proxy server to the end.
If you wish for the proxy_set_header directives to be referenced in more than one location, you can move it out to the server or http context. Consider the configuration snippet below:
|
1 2 3 4 5 6 7 8 9 10 11 12 |
proxy_set_header HOST $host; proxy_set_header X-Forwarded-Proto $scheme; proxy_set_header X-Real-IP $remote_addr; proxy_set_header X-Forwarded-For $proxy_add_x_forwarded_for; location /match/here { proxy_pass http://example.com/new/prefix; } location /different/match { proxy_pass http://example.com; } |
Defining an Upstream Context to Load Balance Proxied Connections
Up to this point, you have an understanding of how to do a simple http proxy to a single backend upstream server. Thankfully, with Nginx, you can scale such a configuration by defining pools of backend servers to pass the requests to for handling.
Nginx provides a directive called upstream that is used to define a pool of servers. Within the directive’s configuration, you must only specify servers that are capable of handling a client’s request. Nginx as a proxy server allows scaling of infrastructure with minimum effort. The upstream directive must be specified within the http context of your Nginx configuration.
Here is an example showing the upstream directive:
|
1 2 3 4 5 6 7 8 9 10 11 12 13 14 |
upstream several_backend_hosts { server host1.example.com; server host2.example.com; server host3.example.com; } server { listen 80; server_name example.com; location /proxy-me { proxy_pass http://several_backend_hosts; } } |
In the configuration code snippet above, we have defined an upstream context called several_backend_hosts. The defined context name is now available within proxy passes. It can be used as if it was a regular domain as shown in the example. Within the server block, we pass all requests made to example.com/proxy-me/… to the pool we defined using the upstream directive, in this case, several_backend_hosts. A host is selected within the pool to handle incoming requests by applying a configurable algorithm. By default, the selection follows a round-robin (circular) process – each request is routed to a different host in turn.
How to Change the Upstream Balancing Algorithm
As highlighted above, the selection process follows a round-robin process. In this section, we will see how we can modify the balancing algorithm used by the upstream pool. To modify the algorithm, you include other directives or flags within the upstream context as defined below:
-
(round-robin) – if no other upstream balancing directive is specified, then by default, each server defined in the upstream context is passed requests sequentially in turn.
-
least_conn – this directive instructs the upstream to select the backend server with the least number of active connections. This is applicable in situations where connections to one backend server may persist for a while.
-
hash – this directive is common for the memcached proxying. Connections are passed to the backend servers based on the value of a randomly provided hash key. The value of the hash key can be variables, text, or a combination of both. hash happens to be the only balancing method requiring input from users to act as the key to be used for the hash.
-
ip_hash – this directive instructs the upstream to distribute requests to different servers based on the client’s IP address. The first three octets of the IP address are the key to determining which server should process a request. An advantage of this directive is that clients tend receive the same server each time, hence ensuring session consistency.
Here is an example of how we can add the balancing algorithm directive to the upstream context:
|
1 2 3 4 5 6 7 8 |
upstream several_backend_hosts { least_conn; server host1.example.com; server host2.example.com; server host3.example.com; } |
In the snippet above, Nginx will select any of the servers with the least connections to process an incoming request. The ip_hash directive follows the same syntax. For the hash directive, you have to provide a key of your choice to hash against, here is an example:
|
1 2 3 4 5 6 7 8 |
upstream several_backend_hosts { hash $remote_addr$remote_port consistent; server host1.example.com; server host2.example.com; server host3.example.com; } |
The hash used here will be a result of the client’s IP address and port. The optional parameter consistent implements the ketama consistent hashing algorithm. This ensures a minimal impact on your cache should you change your upstream servers.
How to Specify Server Weight for Balancing
By default, when you declare backend servers, each server is weighted equally. The assumption is that each server has the resources and capabilities to handle the same amount of load, of course, this is in consideration of whichever balancing algorithm you specify in the upstream context. To change this default behavior, you may set an alternative weight to each server during the declaration. Let’s consider an example:
|
1 2 3 4 5 |
upstream backend_hosts { server host1.example.com weight=2; server host2.example.com; server host3.example.com; } |
In this example, host1.example.com will receive two times the traffic as the other two servers. The weight for each server is one by default.
Freeing up Backend Servers with Buffers
While configuring proxying in your server configuration, you may be concerned about the performance impact of adding more servers to the process. Luckily, Nginx comes with buffering and caching features that can help mitigate these performance issues.
The speed of two different connections is sure going to affect a client’s experience when proxying to another server:
-
The first connection is from the client to the Nginx proxy.
-
The second connection is from the Nginx proxy to the backend upstream server.
Nginx can adjust its behavior to help optimize either of the connections as needed.
If we remove buffers, data from the upstream backend begins transmission to the client immediately at the Nginx proxy. If you know that your clients are fast, you can completely turn off buffering to ensure data gets to the client fast enough. When you have buffers turned on, Nginx proxy temporarily stores the response data received from the backend upstream server. Then, it sends the data to the client depending on their speed. Once Nginx has the response in its buffers, it can close the connection to the backend server. It will then distribute the data to the client at a speed the client supports. At the same time, it is allowing the backend server to continue processing other incoming requests.
By default, Nginx will have buffering turned on. This is because we cannot know the connection speeds of clients. Clients tend to have different connections which may be slower. Below, we will define the various directives that we can specify to adjust the buffering behavior of Nginx. The directives can be defined in the http, server, or location contexts, however, you should note that the sizing directives are configured per request. Hence, increasing them beyond what is absolutely necessary can affect the performance of your server when there are too many incoming client requests. Here are the directives:
-
proxy_buffering – the directive that controls whether buffering is active for a particular context and child contexts. The default configuration for proxy_buffering is “on”.
-
proxy_buffer_size – the directive that specifies the size of the buffer for storing headers found in a response from a backend server. Headers make the first part of the response from a backend server. Buffering of these headers is separate from the rest of the response. By default, the set size of this buffer is the same as that of proxy_buffers. However, if the header information is small, you can set the size to a lower value.
-
proxy_buffers – the directive controlling the number (first argument) and size (second argument) of buffers for proxied responses. The default configuration specifies 8 buffers of a size equal to one memory page (either 4k or 8k). You can allow buffering of more information by increasing the number of buffers.
-
proxy_max_temp_file_size – the directive specifying the maximum size, per request, for a temporary file on disk. Temporary files are created when the upstream response is too large to fit into a buffer.
-
proxy_busy_buffers_size – the directive specifying the maximum size of buffers that can pass as “client-ready” and thus busy. A client can only read the data from one buffer at a time. However, buffers are in a queue to send to the client in batches. You can specify the size of the buffer space allowed to be in this state by modifying this directive.
-
proxy_temp_file_write_size – the directive specifying the amount of data Nginx will write to the temporary file at once when the response from the backend upstream server is too large to fit in the configured buffers.
-
proxy_temp_path – the directive specifying the path to the location on the disk where Nginx should store any temporary files when the response from the upstream backend server is too large to fit in the configured buffers.
Nginx is highly customizable, providing you several directives to tweak the buffering behavior. In most cases, the default values will work just fine. At the same time, it’s good to know that you can adjust some of these values for your custom implementation. You will mostly want to adjust the proxy_buffers and proxy_buffer_size directives.
Below is an example that increases the number of available proxy buffers for each upstream request. It does that while reducing the size of the buffer that stores the headers:
|
1 2 3 4 5 6 7 8 9 10 11 12 |
server { proxy_buffering on; proxy_buffer_size 1k; proxy_buffers 24 4k; proxy_busy_buffers_size 8k; proxy_max_temp_file_size 2048m; proxy_temp_file_write_size 32k; location / { proxy_pass http://example.com; } } |
Let’s see how you can serve data faster to fast clients by turning buffering off completely. If it happens that your client is not fast enough, Nginx will automatically use buffers. However, but it will first flush the data to the client instead of waiting for buffer pools. This configuration comes with a disadvantage. This configuration causes the upstream server connection to remain open for slow clients until the client has received all the response data. If buffering is set to “off”, only the buffer defined by the proxy_buffer_size directive will be used. Here is a snippet showing how you would specify buffering off:
|
1 2 3 4 5 6 7 8 9 |
server { proxy_buffering off; proxy_buffer_size 4k; location / { proxy_pass http://example.com; } } |
-
Configuring a Highly Available(HA) Infrastructure (Optional setup)
You can add a redundant set of load balancers to the Nginx proxy configuration ensuring it’s more robust and hence, highly available. A high availability (HA) setup is an infrastructure with no single point of failure. Load balancers are a part of this configuration. With more than one load balancer, you can prevent potential downtime if one load balancer fails or goes offline for maintenance.
How to Implement Nginx Proxy Caching to Lower Response Times
In the previous section, we discussed how to use buffering to free up the backend servers to handle more requests. Nginx comes with another feature that allows us to cache response data from the backend. It completely removes the need to connect the upstream for all the incoming requests.
Implementing a Proxy Cache
The proxy_cache_path directive allows us to set up a cache by specifying an area on the disk to use for storing proxied content. The proxy_cache_path directive gets a definition in the http context.
The below configuration code snippet is an example of how you can implement a caching system:
|
1 2 3 4 5 6 |
http { proxy_cache_path /var/lib/nginx/cache levels=1:2 keys_zone=backendcache:8m max_size=50m; proxy_cache_key "$scheme$request_method$host$request_uri$is_args$args"; proxy_cache_valid 200 302 10m; proxy_cache_valid 404 1m; } |
In this code snippet, we have used the proxy_cache_path directive to define a directory on the file system that will hold our cache. The /var/lib/nginx/cache is the directory we have set in this case. You are free to define a directory path of your choice. Use the following commands to create your chosen directories, with the correct permissions and ownership:
|
1 2 3 |
sudo mkdir -p /var/lib/nginx/cache sudo chown www-data /var/lib/nginx/cache sudo chmod 700 /var/lib/nginx/cache |
In the code snippet, the levels= parameter specifies the organization of the cache. Nginx will create a cache key by hashing the value of a key (specified using proxy_cache_key directive). The levels we specified (1:2) indicate that a single character directory (i.e. the last character of the hashed value) with a two-character subdirectory (taken from the next two characters from the end of the hashed value) will be created. In most cases, this will not concern you. However, it’s good knowing how it helps Nginx in quickly finding the relevant values.
The keys_zone= parameter defines the name for a cache zone, in our case we have named it backendcache. Here, we also define how much metadata we want to store. In this example, we are storing 8 MB of keys. Nginx can store roughly 8000 entries for each megabyte. The max_size parameter specifies the maximum size of the actual cached data, 50MB for our example.
You should also notice the proxy_cache_key directive used. This directive specifies the key that we will use to store cached values. We will use the same key to check whether the request exists within the cache. We have specified that key to be a combination of the scheme (http or https), the HTTP request method, and the requested host and URI.
In addition, we have used the proxy_cache_valid directive. This directive can be specified multiple times for various status codes. It allows us to specify how long to store values depending on the status code. In the code snippet, we specified 10 minutes for success codes and 1 minute for 404 responses.
Since we have configured the cache zone, the next step is to put the configuration into effect by telling Nginx when to use the cache. Below is a configuration snippet showing how we can implement the use this cache:
|
1 2 3 4 5 6 7 8 9 |
server { location /proxy-me { proxy_cache backendcache; proxy_cache_bypass $http_cache_control; add_header X-Proxy-Cache $upstream_cache_status; proxy_pass http://backend; } } |
In the proxy_cache directive, we have specified that the backendcache cache zone should be used for this context. If you chose a different name in the cache configuration, here is where you will replace it. For every valid entry, Nginx will check the cache before passing a request to the backend upstream server.
We define proxy_cache_bypass directive to use the $http_cache_control variable. This variable tells the server whether it should respond with a cached response or a fresh, non-cached version of the resource. Appropriately setting this directive allows Nginx to correctly handle various types of incoming requests from clients.
An additional header called X-Proxy-Cache is also specified. This header has the value of the $upstream_cache_status variable. It gives us information on whether the request resulted in a cache hit, a cache miss, or if the cache was explicitly bypassed. Such information can be useful for the client and crucial during debugging of applications.
Important Points about Caching Results
While caching will greatly improve the performance of your proxy server, you should take note of the following when implementing caching:
Any data related to a user’s personal info should not be cached, to avoid scenarios where one user’s data is visible to another user.
Your backend servers should account for all dynamic elements of your website. We have several Cache-Control headers we can specify in our response to serve different purposes. Let’s discuss them:
-
no-cache – specifies that the proxy must check whether the data has changed on the backend before serving a response. This is applicable for dynamic and important data. An ETag hashed metadata header is checked on each request and if the backend returns the same hash value, then the previous value is served.
-
no-store – specifies no caching for any data received, hence, every request will go to the server for fresh data. This is the safest for sensitive data.
-
private – specifies that no shared cache space should cache the data. You can use this header to specify caching in the user’s browser, but also inform the proxy server to consider the data invalid for subsequent requests.
-
public – specifies a public response and allows caching at any point in the connection.
You can specify how long you want the cache to last in seconds using the max-age header. The various headers defined above can help you implement caching while keeping sensitive data safe, dynamic data fresh, and, most importantly, improving your server’s performance.
If your backend servers are running Nginx servers, you can specify within the server blocks how long a cache should be valid. You can do this by adding the expires directive to the configuration as shown below:
|
1 2 3 4 5 6 7 |
location / { expires 59m; } location /check-me { expires -1; } |
The first block allows caching of content for 59 minutes, while the second block indicates no caching. These settings apply to the Cache-Control headers options, for instance, “no-cache” for the second block.
You may use the add-header directive to set additional values:
|
1 2 3 4 |
location /private { expires -1; add_header Cache-Control "no-store"; } |
Conclusion
In this tutorial, we learned about the powerful features of Nginx. Nginx is both a web server and most importantly a reverse proxy. The design of Nginx makes it able to handle thousands of concurrent connections. This makes it perfect for load balancing. Because of the design, proxying requests to other backend servers for processing is pretty straightforward.
With the knowledge from this tutorial, you should be able to implement complex proxies and load balancers, thanks to the flexibility of Nginx.
Here are some resources you can find on our blog that can get you further acquainted with Nginx:
Happy Computing!
- How to Deploy WordPress with Persistent Volume on Kubernetes Cluster - March 17, 2023
- Deploying Applications on Kubernetes Using Argo CD and GitOps - October 26, 2022
- Using Node.js Modules with npm and package.json: A Tutorial - October 6, 2022
- Using Ansible to Install and Configure WordPress with LAMP on Ubuntu - September 23, 2022
- Creating Views in the Django Web Application Framework - September 22, 2022