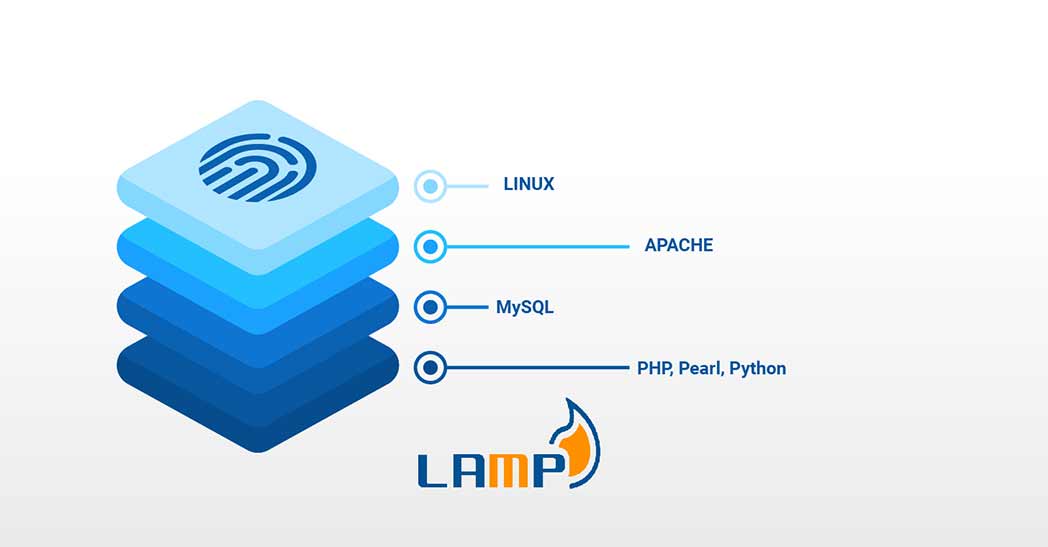
LAMP is an acronym of a very popular web stack – Linux, Apache, MySQL, PHP. All of the four components of LAMP are open-sourced and are suitable to deploy dynamic websites and web applications. In today’s tutorial, I am going to show you how to set up a cloud server with the LAMP stack.
LAMP Stack: L – Linux
L in LAMP stands for Linux Operating System. With CloudSigma’s easy-to-use interface, you can deploy it within minutes.
Creating the machine
First, you have to create a machine. You can do that easily under CloudSigma’s Compute Section. For the purposes of this tutorial, you can use the following resources:
CPU: 8 GHz
RAM: 8 GB
SSD: 50 GB
You can mount the disk with Ubuntu 18.04 LTS image available in CloudSigma’s library. Ubuntu 18.04: Pre-installed 64bit with VirtIO drivers, superuser, Python 2.7.17, Pip 20.0.2 OpenSSL 1.1.1d, Cloud-init and latest updates until 2019-03-03.
After starting the machine, you can update all the existing repos and packages on the machine by running the following commands:
|
1 2 |
sudo apt update sudo apt upgrade |
LAMP Stack: A – Apache
Apache (Apache HTTP Server) is an open-source web server software that can be used to serve the content on the web. More than 40% of the websites on the WWW – World Wide Web use it.
To install Apache HTTP Server, you can run the following command:
|
1 |
sudo apt install apache2 -y |
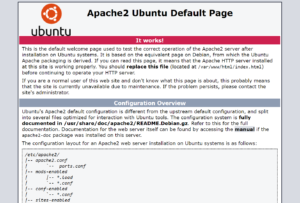
Once it’s installed, you can go to the IP address on your web browser and you will see an output similar to this:
If you do not know the IP address, you can check it under CloudSigma account’s Compute Section.
LAMP Stack: M – MySQL
You can go ahead and install MySQL now that Linux and Apache are installed
MySQL is an open-source Relational Database Management System (RDBMS) that helps users store, organize, and manage data. It is very popular and widely used in the IT industry. To read more about MySQL, follow CloudSigma’s post – How to setup MySQL on a server and MySQL basics.
|
1 |
sudo apt install mysql-server -y |
To increase the security, run the below script and choose your preferences:
|
1 |
sudo /usr/bin/mysql_secure_installation |
|
1 2 3 4 5 6 7 8 9 10 11 12 13 14 15 16 17 18 19 20 21 22 23 24 25 26 27 28 29 30 31 32 33 34 35 36 37 38 39 40 41 42 43 44 45 46 47 48 49 50 51 52 53 |
Output: Securing the MySQL server deployment. Connecting to MySQL using a blank password. The 'validate_password' plugin is installed on the server. The subsequent steps will run with the existing configuration of the plugin. Please set the password for root here. New password: Re-enter new password: Estimated strength of the password: 25 Do you wish to continue with the password provided?(Press y|Y for Yes, any other key for No) : y By default, a MySQL installation has an anonymous user, allowing anyone to log into MySQL without having to have a user account created for them. This is intended only for testing, and to make the installation go a bit smoother. You should remove them before moving into a production environment. Remove anonymous users? (Press y|Y for Yes, any other key for No) : y Success. Normally, root should only be allowed to connect from 'localhost'. This ensures that someone cannot guess at the root password from the network. Disallow root login remotely? (Press y|Y for Yes, any other key for No) : y Success. By default, MySQL comes with a database named 'test' that anyone can access. This is also intended only for testing, and should be removed before moving into a production environment. Remove test database and access to it? (Press y|Y for Yes, any other key for No) : y - Dropping test database... Success. - Removing privileges on test database... Success. Reloading the privilege tables will ensure that all changes made so far will take effect immediately. Reload privilege tables now? (Press y|Y for Yes, any other key for No) : y Success. All done! |
LAMP Stack: P – PHP
PHP is a popular open-source scripting language generally used for building dynamic web pages. You can install it using the command:
|
1 |
sudo apt install php libapache2-mod-php php-mysql |
Once it’s installed, you can configure Apache to serve your PHP file by moving “index.php” before “index.html” in this file – /etc/apache2/mods-enabled/dir.conf
The file would now look like this:
|
1 2 3 4 5 |
<IfModule mod_dir.c> DirectoryIndex <strong>index.php</strong> index.html index.cgi index.pl index.xhtml index.htm </IfModule> # vim: syntax=apache ts=4 sw=4 sts=4 sr noet |
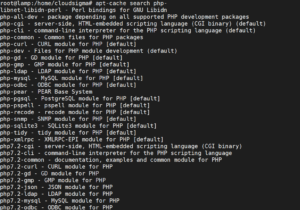
PHP has a vast library of modules that you can use in your application. Find the available libraries using the given command and it will get you a list:
|
1 |
sudo apt-cache search php- |
Install the above modules using the apt-get command:
|
1 |
sudo apt-get install <<ModuleName>> |
You can create a sample PHP file to test it out. Create a file – /var/www/html/test.php and add the following contents in it.
|
1 2 3 |
<?php phpinfo(); ?> |
Then, restart the Apache server so the changes take effect.
|
1 |
sudo service apache2 restart |
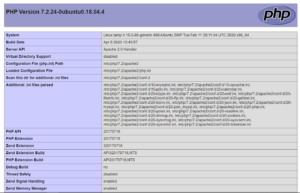
Now, when you go to the URL – https://IPaddress/test.php , you will see the following content:
Finally, you have successfully set up your LAMP Stack.
Happy Computing!
- Removing Spaces in Python - March 24, 2023
- Is Kubernetes Right for Me? Choosing the Best Deployment Platform for your Business - March 10, 2023
- Cloud Provider of tomorrow - March 6, 2023
- SOLID: The First 5 Principles of Object-Oriented Design? - March 3, 2023
- Setting Up CSS and HTML for Your Website: A Tutorial - October 28, 2022


