


OPENVPN ACCESS SERVER
CloudSigma and OpenVPN have teamed up to lower the barrier to deploy your own private OpenVPN server. Thanks to CloudSigma’s powerful cloud platform, and OpenVPN’s fantastic VPN appliance, it has never been easier to get up and running with your own private VPN server.
Pre-requisites
Do you need a server?
Launch one now on CloudSigma with our 14-day free trial. No credit card required. Click here to get started.
An SSH key
Before we begin, you need to have an SSH Key. This will be used later for accessing your OpenVPN server and creating users. If you do not have an SSH key, you’ll find a great guide on how to create one here.
Getting started
Before you begin, you may want to skip down to the Optional settings to see if there is anything else you’d like to add to your server before you begin.
If you used the OpenVPN landing page that auto-deployed your OpenVPN server, simply skip to 3.
- Clone the disk image name OpenVPN Access Server from the marketplace (video).
- Create a server (video). For most users, 2GHz CPU and 2GB RAM should be sufficient. Do not boot the server yet.
- Copy in your public SSH key in the SSH Key field before the first boot. If not, the key will not be copied in properly, and you won’t be able to access the server.
- Boot the server.
- Take a note of the IP and the VNC Password from the web app. Now point your web-browser to:
1https://[the IP address]:943/admin
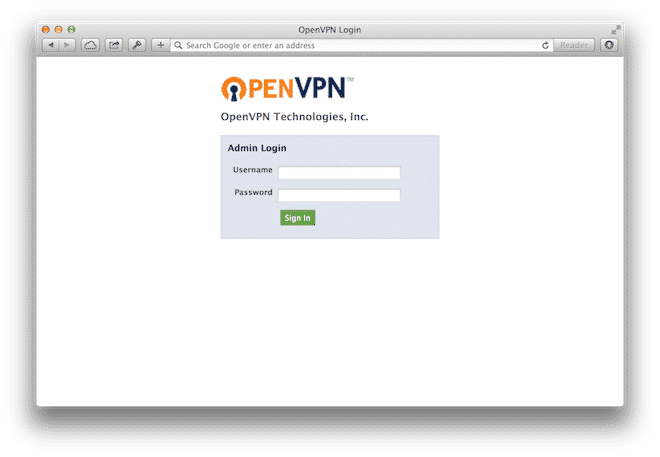
Login with the username ‘openvpn’ and your VNC Password. This will take you to OpenVPN’s admin interface.
- Now that you have been able to poke around in the OpenVPN admin interface, let’s SSH into the server and update the password and create our first user. To do this, simply SSH into root@[the IP address] using your SSH key.
[bash light=”true”] $ passwd openvpn
[/bash] Since the ‘openvpn’ user is merely for administration and shouldn’t be used for normal access, let’s create our first real users ‘jdoe’.
[bash light=”true”] $ /usr/local/openvpn_as/scripts/sacli -u jdoe –new_pass SomeComplexPassword SetLocalPassword
[/bash] For more information on how to use the CLI, please visit this page. - You can now point ask your users to:
After logging in, they will be taken to a wizard where they can download the VPN client and VPN setting.1https://[the IP address]:943
That’s it. Congratulations. You now have your very own VPN server runninOpenVPN Access Server.
Optional
Static IP
While optional, we strongly encourage you to purchase a static IP if you intend to use your VPN server for anything a production environment. If not, the IP of the server may change. Not only would this force you to update your DNS records, but it could also put you at risk for impersonation attacks.
For information on how to purchase a static IP, please watch this video.
A domain name
To make the life of your users easier, you probably want to use your domain name instead of an IP address. All you need to do is to create an A-record for and point it to the IP of your VPN server (preferably a static IP).
Once you have created a domain name for your VPN server under ‘Server Network Settings’, to make sure that the VPN clients will use this when connecting.
An SSL certificate
By default, OpenVPN comes with a self-signed SSL certificate. This is fine for your test environment, but if you are serious about your security, you will probably want to upload your own SSL certificate. You can do this directly within the OpenVPN admin interface.
The default keys that are shipped with the OpenVPN appliance are 2048bit and will be generated upon boot. This is fine for most use cases. However, if you’re really security concerned, you may want to switch to 4096bit keys. Documentation on how to generate and replace your keys can be found here.
A VLAN
If you are intending to use your VPN server to access internal resources on other servers, it needs to be connected to the same VLAN as those servers. Configuring OpenVPN for this is beyond the scope of this article.
For more information on how to assign a VLAN to your server, please watch this video.
A firewall policy
If you want to increase the security of your VPN server, our built-in firewall policy is a great idea. While you could do the same thing on the host, creating a firewall policy increases the security further.
| Port | Protocol | Action | Comment |
| 22 | TCP | Accept | SSH |
| 443 | TCP | Accept | OpenVPN (TCP) |
| 943 | TCP | Accept | OpenVPN’s web interface |
| 1194 | UDP | Accept | OpenVPN (UDP) |
Use custom DNS servers
OpenVPN does support the ability to set a custom DNS for clients. This can be used to enhance the security further by using something like OpenDNS.
The DNS settings are available after you’ve logged into the admin interface under VPN Settings and DNS Settings. The default setting is not to override the DNS settings of the client.
More information
For more information about OpenVPN AS, please visit: