
According to dcos.io, DC/OS is a distributed operating system based on the Apache Mesos distributed systems kernel.
Having a distributed operating system allows users to enable the management of multiple machines as if they were a single computer. In addition, it automates resource management, schedules process placement, facilitates inter-process communication, and simplifies the installation and management of distributed services. Its included web interface and available command-line interface (CLI) facilitate remote management and monitoring of the cluster and its services.
Simplifying it, it abstracts and manages the resources like CPU, memory, storage etc. of the machines and makes it look like one system having all those resources. Hence, enabling fault tolerant and elastic distributed operating systems to be easily built and run effectively.
Some of the features of DCOS are:
- Containerization: It works on the concept of containers. It creates containers and assigns these containers to services/applications. It works with docker and AppC images.
- Linear Scalability: It can scale up to 10000s of nodes.
- HA: The system is highly available with fault tolerant replicated master and agents using zookeeper.
- APIs: HTTP APIs are available for developing new distributed applications, for operating the cluster, and for monitoring.
- Web UI: Built-in Web UI for viewing cluster details and status.
Cluster Preparation
For installation of DCOS, I am creating 3 masters, 3 agents and one bootstrap node.
Firstly, for each of the master node, I am using the following configuration:
CPU: 10 Ghz
RAM: 32 GB
SSD: 120 GB
Next, for each of the agent node, I am using the following configuration:
CPU: 5 GHz
RAM: 16 GB
SSD: 60 GB
Finally, for bootstrap node, I am using the following configuration:
CPU: 5 GHz
RAM: 16 GB
SSD: 60 GB
For each of the instance, I have cloned the image “CoreOS – Container Linux 1235.12.0” from CloudSigma’s library. There’s a newer version available but that is not officially supported. I have resized the drive as specified above.
Installation Prerequisites
I am logging into the bootstrap node with username “core” and the ssh key as specified while creating the instances. While doing this, ensure that for each of the instance, ssh key set is same. This is necessary because it is required by the DC/OS installer.
On each of the machines, I am running this command to disable automatic updates since as of now, DCOS is not compatible with all the versions of CoreOS. I am doing this in order to stop the update-engine which automatically updates the CoreOS to a recent version.
|
1 |
sudo systemctl stop update-engine |
On the bootstrap node, I am creating a folder ‘genconf’, where all the installation related files will be put on course of the installation.
|
1 |
mkdir genconf |
In the genconf folder, I am creating a file ‘ip-detect’ which should report the IP address of each node.
|
1 |
touch genconf/ip-detect |
In the same file, I am adding the following code. When this code is run on bash, it gives the IP of the particular node it is run on.
|
1 2 3 4 |
#!/usr/bin/env bash set -o nounset -o errexit export PATH=/usr/sbin:/usr/bin:$PATH echo $(ip addr show eth0 | grep -Eo '[0-9]{1,3}\.[0-9]{1,3}\.[0-9]{1,3}\.[0-9]{1,3}' | head -1) |
As a next step, I am creating another file ‘config.yaml’ in the genconf folder.
For your reference and information, YAML (YAML Ain’t Markup Language) is a human-readable data serialization language. It is commonly used for configuration files, but could be used in many applications where data is being stored (e.g. debugging output) or transmitted (e.g. document headers).
In this yaml file we will be adding the configuration customized for our cluster environment. DC/OS uses these configurations during the installation to generate cluster specific installation files.
For a detailed list of configuration parameters, refer to this link.
Note that the IP address of each node must be accessible from bootstrap node as well as from each other.
|
1 2 3 4 5 6 7 8 9 10 11 12 13 14 15 16 17 18 19 20 21 22 23 24 25 26 27 28 29 30 31 32 33 34 |
cluster_name: CloudSigma-Cluster # Only override this value if you're hosting the contents of genconf/serve/ # at a custom location. The CLI installer will automatically distribute # its contents to this location on all cluster nodes prior to install. bootstrap_url: file:///opt/dcos_install_tmp master_discovery: static exhibitor_storage_backend: static # If Google DNS is not available, you can replace these servers with your # local DNS servers. resolvers: - 8.8.8.8 - 8.8.4.4 # Enter the master node IPs here master_list: - <master-ip-1> - <master-ip-2> - <master-ip-3> # Enter the agent node IPs here agent_list: - <agent-ip-1> - <agent-ip-2> - <agent-ip-3> - <agent-ip-4> - <agent-ip-5> # Enter the public agent IP here public_agent_list: - <public-agent-ip> # Enter the node username. In our case, it's 'core' ssh_user: core |
I will copy the common ssh key to genconf folder with name ‘ssh_key’. Changing the permissions to 600 which means that user has read and write permissions over the file.
|
1 |
cp <path-to-key> genconf/ssh_key && chmod 0600 genconf/ssh_key |
Installation
Now that configuration part is complete, I will move on to the installation part.
In this part, I will first download the DC/OS installer file. Before doing this, it is required that we get our data transfer limit increased as huge data transfer can lead to our IPs getting blackholed to protect them from DDoS attacks. One can ask CloudSigma to increase the limit over their 24/7 Chat window. It’s a very quick process.
|
1 |
curl -O https://downloads.dcos.io/dcos/stable/dcos_generate_config.sh |
The setup script extracts a Docker container that uses the generic DC/OS install files to create customized DC/OS build files for my cluster. The build files are output to ./genconf/serve/.
|
1 |
sudo bash dcos_generate_config.sh --genconf |
You will see a similar output:
|
1 2 3 4 5 6 7 8 9 10 11 12 13 14 15 16 17 18 19 20 |
Extracting image from this script and loading into docker daemon, this step can take a few minutes dcos-genconf.8ecb7913da270b9422-0add3ab2ad4ca4e863.tar e53f74215d12: Loading layer [==================================================>] 5.06MB/5.06MB eb1177963bcc: Loading layer [==================================================>] 22.91MB/22.91MB c7fb3c437f35: Loading layer [==================================================>] 4.074MB/4.074MB 3b53e3dec3df: Loading layer [==================================================>] 220MB/220MB c5e1c0bc9b27: Loading layer [==================================================>] 2.56kB/2.56kB 6ec9b63ce368: Loading layer [==================================================>] 32.46MB/32.46MB 17373561bf21: Loading layer [==================================================>] 674.8MB/674.8MB d764eacaed48: Loading layer [==================================================>] 4.608kB/4.608kB 16dd1e193ee7: Loading layer [==================================================>] 3.072kB/3.072kB 77ec8641110b: Loading layer [==================================================>] 7.168kB/7.168kB f23fdffad147: Loading layer [==================================================>] 1.536kB/1.536kB Loaded image: mesosphere/dcos-genconf:8ecb7913da270b9422-0add3ab2ad4ca4e863 ====> EXECUTING CONFIGURATION GENERATION Generating configuration files... Cluster package list: package_lists/01dc1c6fa76371695f1c28c9108cb620bd50d9cb.package_list.json Package filename: packages/dcos-config/dcos-config--setup_e83fb2dfca669d83d58c46f02e6bf880764cd4a5.tar.xz Package filename: packages/dcos-metadata/dcos-metadata--setup_e83fb2dfca669d83d58c46f02e6bf880764cd4a5.tar.xz Generating Bash configuration files for DC/OS |
Next, I will run the pre-requisite installation script which includes system updates, compression utilities ((UnZip, GNU tar, and XZ Utils), and cluster permissions.
|
1 |
sudo bash dcos_generate_config.sh --install-prereqs |
Now that the pre-requisities are installed, I will run the pre-flight script which will validate if the cluster is installable.
|
1 |
sudo bash dcos_generate_config.sh --preflight |
After the validation, I will run the deploy part of it. It will install DC/OS on the cluster.
|
1 |
sudo bash dcos_generate_config.sh --deploy |
After the installation, I am running the diagnostic script to verify if the services are up and running.
|
1 |
sudo bash dcos_generate_config.sh --postflight |
I am opening the link http://<master-public-ip>:8181/exhibitor/v1/ui/index.html and checking the status of the master servers. When all the status icons are green, I will be able to access the DC/OS web interface.
Before moving any further, I will first backup the installation files in case I need to add another agent node in the future.
|
1 2 |
cd genconf/serve sudo tar cf dcos-install.tar * |
To do this, I will copy the tar to another location to keep a backup.
Setting up For First Use
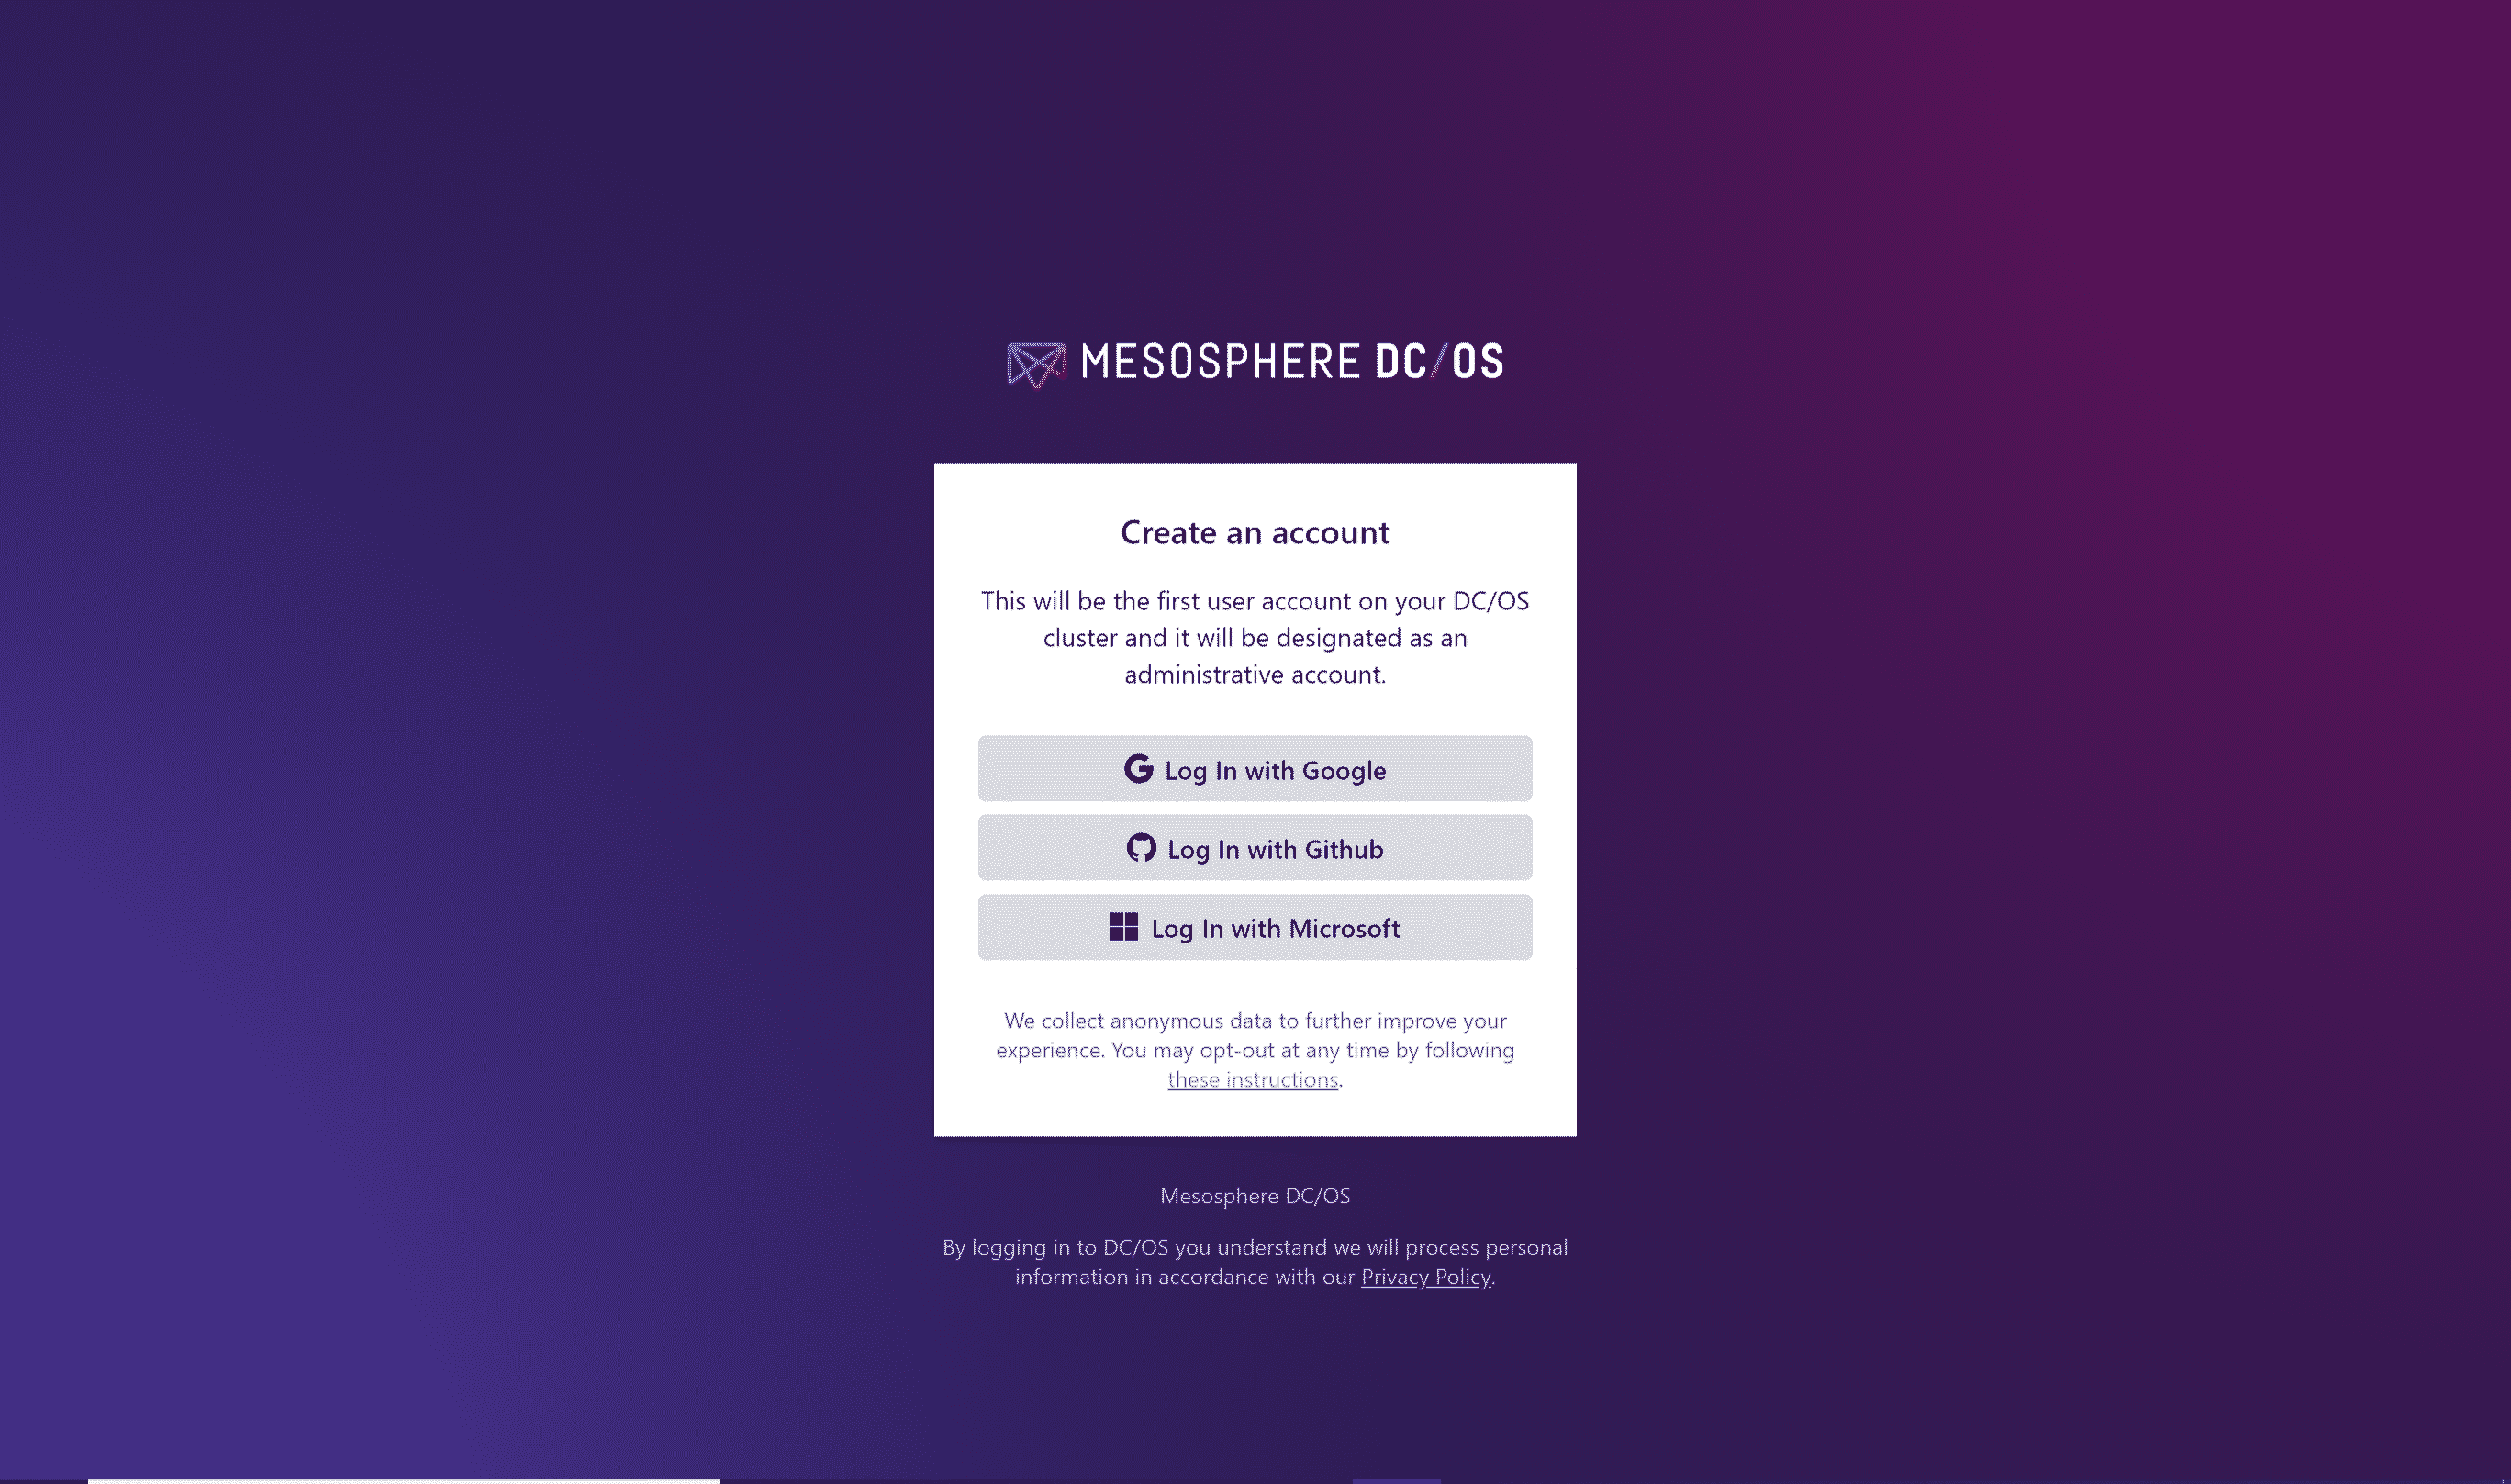
Next, I will open the web interface at the master IP. It will ask me to create an account using Google, GitHub or Microsoft account.
Once installed, click on the top left logo and it will show a menu. Click on ‘Install CLI’. This would give you platform specific ways to install CLI. For CoreOS, we will change it to the following
|
1 2 3 4 |
rm /home/core/.bashrc cp /usr/share/skel/.bashrc /home/core/ echo PATH=$PATH:/opt/mesosphere/bin >> /home/core/.bashrc source /home/core/.bashrc |
I am removing the .bashrc file from home since it’s read only and I won’t be able to edit it. Then, I am copying it from it’s original location back to home. This allows me to edit the file. I am appending the PATH with the directory where I am going to put dcos files. Then I will source the bashrc to update the environment.
|
1 2 3 4 5 6 |
curl https://downloads.dcos.io/binaries/cli/linux/x86-64/dcos-1.11/dcos -o dcos && sudo mv dcos /opt/mesosphere/bin && cd /opt/mesosphere/bin && sudo chmod +x /opt/mesosphere/bin/dcos && dcos cluster setup http://IP && dcos |
Subsequently, you will see this displayed on your screen:
|
1 2 3 4 5 |
If your browser didn't open, please go to the following link: http://IP/login?redirect_uri=urn:ietf:wg:oauth:2.0:oob Enter OpenID Connect ID Token: |
Go to the URL, sign in with your account and copy paste the token provided there to continue.
Now, DCOS is ready to use on both CLI and GUI.
User Interface
We will take a glance over the UI:
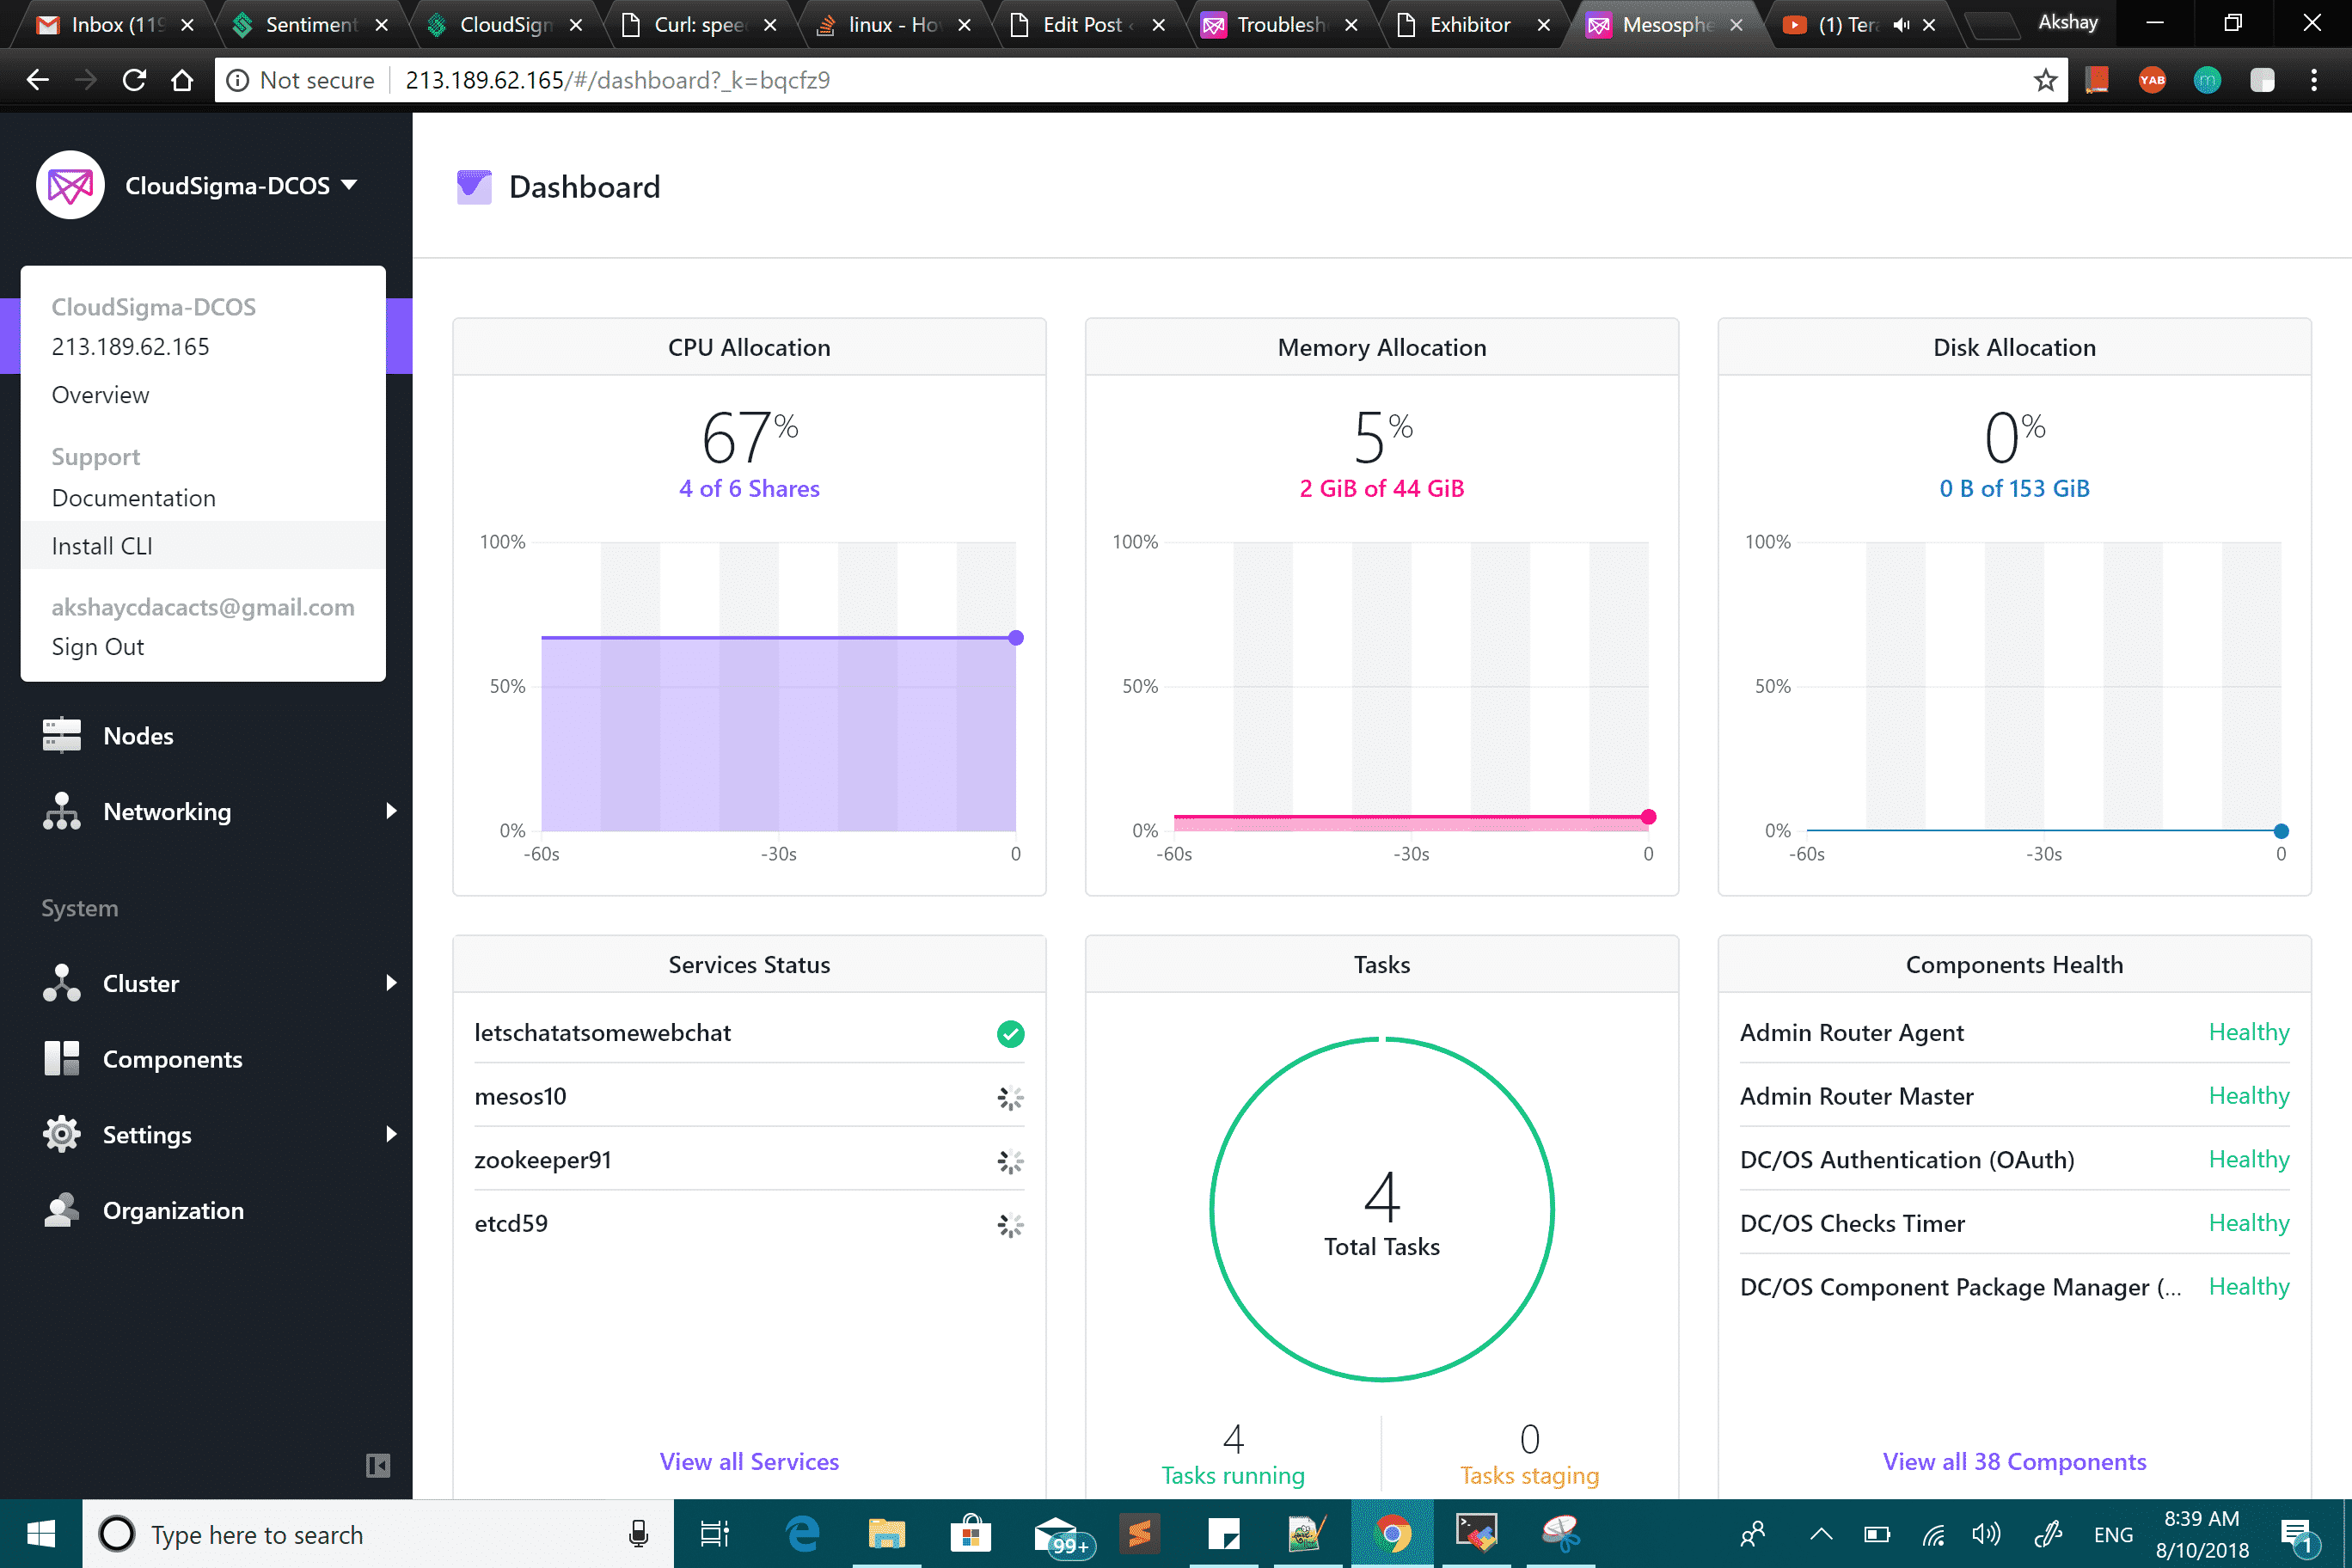
- On the DashBoard, we can see the status of our complete cluster, the resources, tasks, service, component health, etc.
- On Services page, we can see all the service instances selected to be deployed. It shows the status as well like Running/Deploying.
- The jobs page is to Create both one-off or scheduled jobs to perform tasks at a predefined interval.
- There is a Catalog from where we can choose and install any of the tools provided like Confluent-Kafka, HDFS, Jenkins, Marathon, Spark, etc.
- By clicking on Nodes (under Resources), we can see the usage of resources of each node and their health.
- The Cluster Overview gives all the details regarding the cluster, from version to each of the technical details.
- Components show all the DC/OS components and their health.
- In Settings -> Package Repositories, we can add or delete a repository for installing packages.
- On Organization page, we can add or remove users.
Adding another Node
Prepare the new node with CoreOS – Container Linux 1235.12.0 from CloudSigma’s library. Next, log in to BootStrap node.
I am copying the dcos-install.tar, which I had created earlier, to the new node.
|
1 |
scp ~/dcos-install.tar $username@$node-ip:~/dcos-install.tar |
I am creating a directory for extracting installer files into. Along with that, I am unpacking the tar file.
|
1 2 |
sudo mkdir -p /opt/dcos_install_tmp sudo tar xf dcos-install.tar -C /opt/dcos_install_tmp |
Finally, I will install DCOS on the agent node.
And we are good to go! This is how you install the distributed operating system DC/OS.
For more guides and tutorials, check out our tutorials page.
Share this Post
- Removing Spaces in Python - March 24, 2023
- Is Kubernetes Right for Me? Choosing the Best Deployment Platform for your Business - March 10, 2023
- Cloud Provider of tomorrow - March 6, 2023
- SOLID: The First 5 Principles of Object-Oriented Design? - March 3, 2023
- Setting Up CSS and HTML for Your Website: A Tutorial - October 28, 2022