

If you are a system administrator, it’s important that you have a consistent way of managing all of the servers and computers you are using. Configuration management systems can streamline the process to a great degree. They manage all the systems efficiently from a central location.
On Linux, there are multiple configuration management systems available. For example, Puppet, Chef, Ansible, Bcfg2, Juju, CFEngine, etc. While tools like Puppet and Chef tend to be more complex and advanced, Ansible offers simplicity and ease of use. You don’t have to install any additional client software on the nodes to make Ansible work. Instead, Ansible uses SSH to manage and automate systems. Ansible is open-source software. It’s also highly scalable, consistent, and reliable.
This guide demonstrates how to install and configure Ansible on Ubuntu 20.04.
Ansible on Ubuntu
Ansible can accomplish three types of automation:
-
Provisioning: It can establish various servers according to the needs of the infrastructure.
-
Configuration management: It can perform various configuration changes of servers. For example, starting and stopping services, installing applications and updates, implementing security policies, etc.
-
Application deployment: It makes DevOps easier with automated deployment of internally developed applications to the product system.
Ansible can work perfectly in almost any IT environment – be it hosted or traditional servers, virtualization platforms, or in the cloud. It also supports managing various systems like databases, networks, firewalls, storage devices, and many others. CloudSigma also supports Ansible for our cloud infrastructure.
Prerequisites
For this guide, we need a couple of machines:
-
Control node: The control node is the central node that connects to all the host nodes and issues tasks and manages various aspects of the system. The control node can be anything – a local machine, or a remote server.
-
Host node: Ansible hosts are the machines that the Ansible control node can automate.
As the title of the guide suggests, all these machines are expected to be configured with Ubuntu 20.04 with the latest packages. Here’s a quick guide on setting up an Ubuntu server. Because Ansible uses SSH to connect to machines, all the host nodes must be properly set with SSH keys with the control node. Ensure that all the host nodes have the public SSH key of the control node added to the authentication_keys file. Follow our tutorial to learn how to generate and add SSH keys to Linux servers.
Step 1: Installing Ansible
In the case of Ubuntu, there’s no need for any additional package or repo configuration. Ansible is directly available from the official Ubuntu package servers. Performing any system-level changes requires administrative access – the root user or a non-root user with sudo privilege. The sudoers file manages the sudo permission to users and groups.
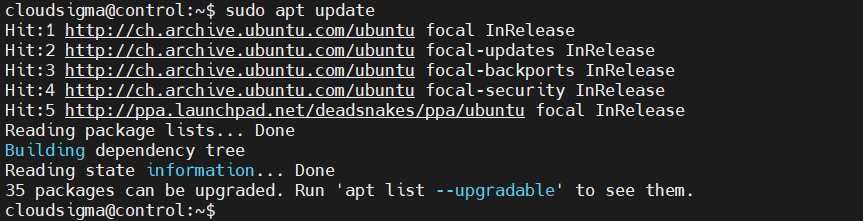
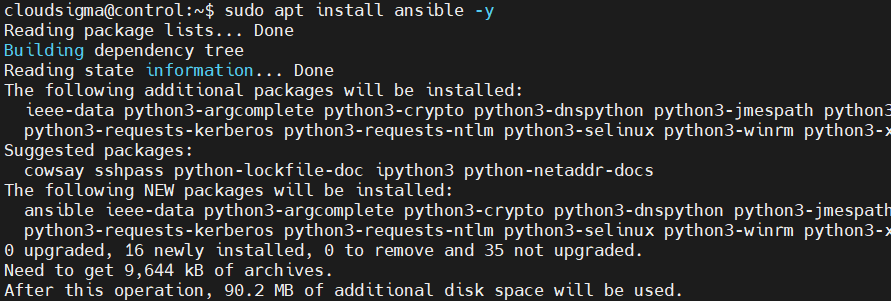
First, we will install Ansible on the computer that will serve as the control node. To install Ansible on the control node, run the following commands:
|
1 |
sudo apt update |
|
1 |
sudo apt install ansible -y |
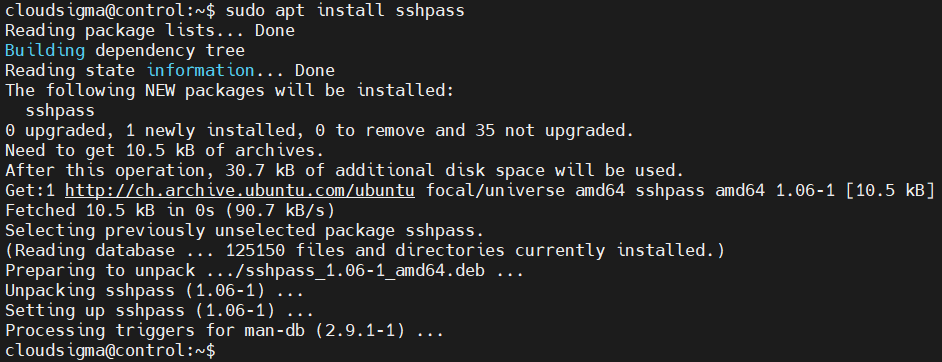
If you are going to use a password as the SSH authentication mechanism, then you need to have the package sshpass installed:
|
1 |
sudo apt install sshpass |
Step 2: Configuring the Inventory File
In Ansible, the inventory file contains info about all the hosts ansible will manage. It can be tens or hundreds of servers registered in the inventory file. The servers can also be divided into groups and sub-groups. Generally, the inventory file is used to establish variables that will be valid for only the specific hosts or groups. It’s a useful technique in writing playbooks and templates. Certain variables can also influence how a playbook is run.
Ansible comes with a default inventory file. First, open up the file in a text editor:
|
1 |
sudo vim /etc/ansible/hosts |

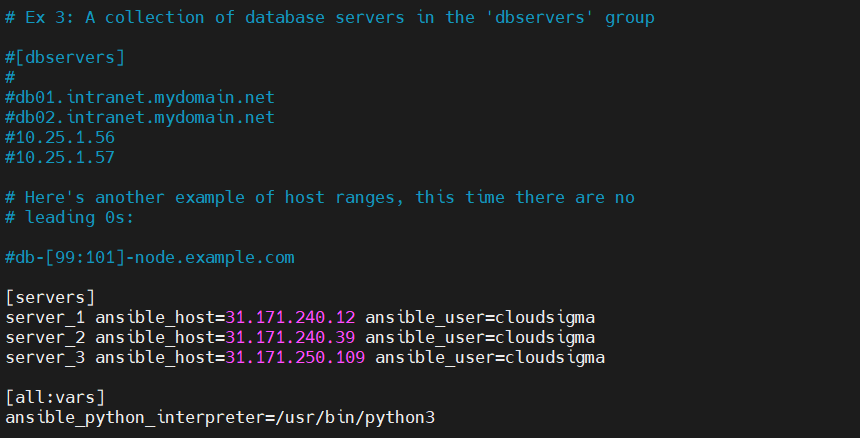
By default, the inventory file contains various examples for reference. Here’s an example with a group named servers containing three different servers. The variable ansible_python_interpreter defines the Python interpreter for all hosts included in the inventory. With the directive ansible_user, we can declare the user account Ansible will connect to:
|
1 2 3 4 5 6 7 |
[servers] server_1 ansible_host=<server_1_ip> ansible_user=<server_1_username> server_2 ansible_host=<server_2_ip> ansible_user=<server_2_username> server_3 ansible_host=<server_3_ip> ansible_user=<server_3_username> [all:vars] ansible_python_interpreter=/usr/bin/python3 |
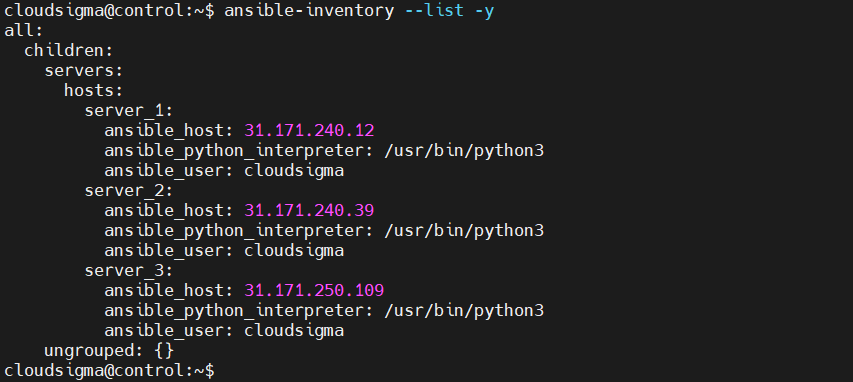
Next, save the file and close the editor. To check the inventory, run the following command:
|
1 |
ansible-inventory --list -y |
The output should look something like this:
Step 3: Connection Testing
After configuring the inventory file, we need to test whether Ansible can connect to those servers via SSH. We can do it by simply pinging all the host nodes. From the control node, ping all the host nodes:
|
1 |
ansible all -m ping |
The ping module checks for the following things:
-
Host accessibility
-
Validity of SSH credentials
-
Hosts can run Ansible modules using Python
The output should look something like this:

If the reply from a particular node is pong, it means that the node is ready to run Ansible commands and playbooks on the server.
Step 4: Running Ad-Hoc Commands
This is an optional step. However, it can be useful in verifying the full functionality of Ansible to the remote servers. This section can also serve as a basic introduction to additional Ansible usage and configuration. Once we’ve confirmed connectivity to the nodes, we can start running ad-hoc commands and playbooks. Any command that you’d run normally on the remote servers can be run with Ansible on all the servers.
Here, run the following command. It’ll check for disk usage on all the nodes at the same time:
|
1 |
ansible all -a "df -h" |

We can also execute various Ansible modules using the ad-hoc command feature, just like how we executed the ping module for testing. For example, the apt module works with the APT package manager on Ubuntu. It can manage packages on a remote Ubuntu node. Note that it requires root permission to make system-level changes. The remote node must allow root login or the user must have permission to execute administrative tasks.
In the following example, Ansible installs Nginx on all the host nodes:
|
1 |
ansible all -m apt -a "name=nginx state=latest" -u root |
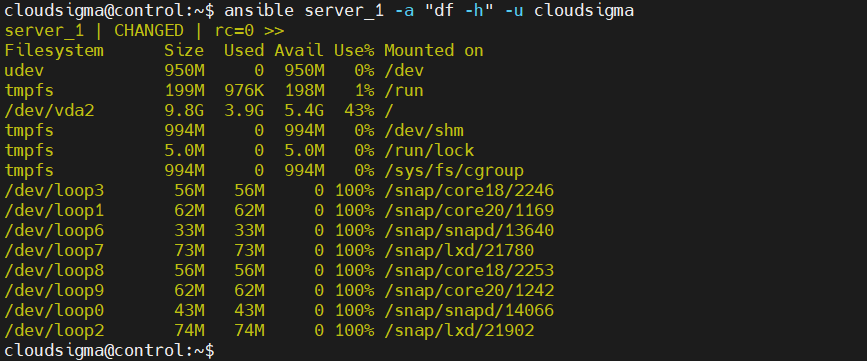
How about running commands on a single server only? We’ll use the server nickname (assigned within the inventory file) to specify the server:
|
1 |
ansible server_1 -a "df -h" -u cloudsigma |
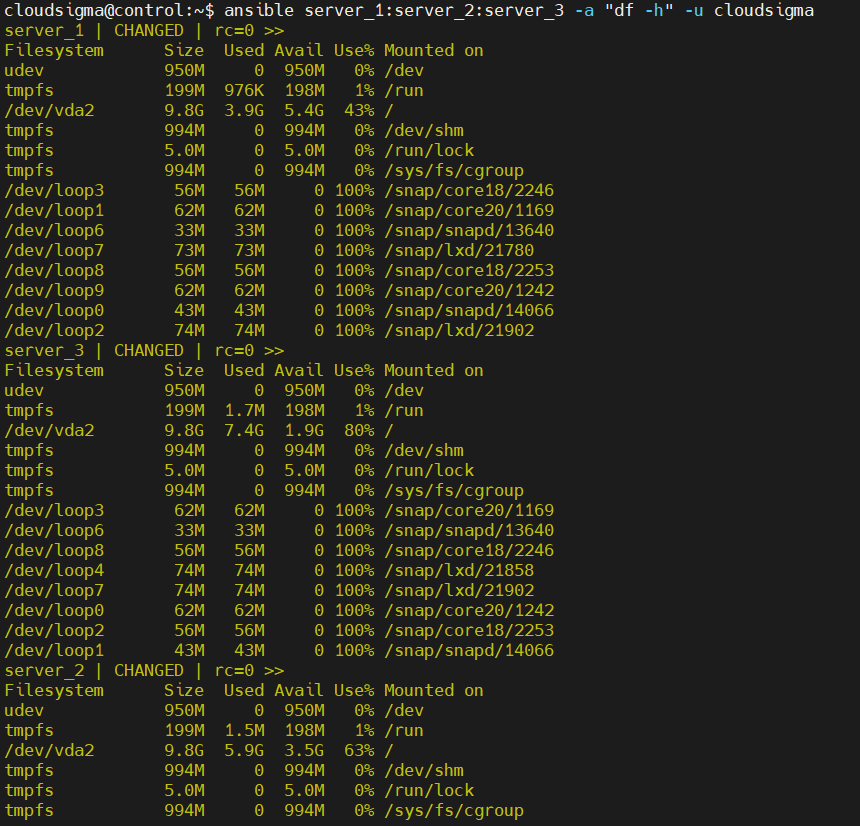
We can also specify multiple servers. Declare each target server nickname with a colon as the delimiter:
|
1 |
ansible server_1:server_2:server_3 -a "df -h" -u cloudsigma |
Final Thoughts
In this guide, we showed you a step-by-step method to install Ansible and configure an inventory file for running ad-hoc commands from the Ansible control node. Once configured, the control node can execute any command or playbook you desire to run on the hosts.
Happy computing!
- How to Deploy WordPress with Persistent Volume on Kubernetes Cluster - March 17, 2023
- Deploying Applications on Kubernetes Using Argo CD and GitOps - October 26, 2022
- Using Node.js Modules with npm and package.json: A Tutorial - October 6, 2022
- Using Ansible to Install and Configure WordPress with LAMP on Ubuntu - September 23, 2022
- Creating Views in the Django Web Application Framework - September 22, 2022