
JavaScript is one of the most popular programming languages empowered with more than 24 frameworks and around 84 libraries. It is the only programming language intrinsically supported by all browsers. Besides, the language supports dynamic typing and is an excellent fit for rendering and animation. You can leverage JavaScript to add interactive behavior in the front-end, control the backend, create web and mobile applications, and more. The option to add effects to any website and make it customizable makes the language a favorite among developers globally.
In this guide, we will walk you through the steps of creating drag and drop elements using pure Vanilla JavaScript. Additionally, we will advance a step further and build a “Morning Scheduler” app using the HTML Drag and Drop API event handlers.
Prerequisites
To follow along with this tutorial, you must have:
Step 1: Create a New Project
Start with creating a container with two child elements. We will use the first child element to drag and the second child element to store the dragged elements.
|
Note: In this tutorial, we will treat containers as a store to keep all the dragged elements. In simple terms, all the elements dragged from the first child will be dropped to the second child. |
|
1 |
$ mkdir drag-and-drop-demo |
Next, use the cd command to change the directory to the drag-and-drop-demo folder:
|
1 |
$ cd drag-and-drop-demo |
Step 2: Initial Set-up
In this tutorial, we will create HTML, CSS, and JavaScript files and connect them. First, name the files name as index.html, styles.css, and scripts.js files respectively.
Next, add the title as “My Morning Planner” in the index.html file:
|
1 2 3 4 5 6 7 8 9 10 11 12 |
<!DOCTYPE html> <html lang="en"> <head> <meta charset="UTF-8"> <meta name="viewport" content="width=device-width,initial-scale=1.0"> <meta http-equiv="X-UA-Compatible" content="ie=edge"> <title>My Morning Planner</title> </head> <body> </body> </html> |
Next, link CSS, and add JavaScript to HTML:
|
1 2 3 4 5 6 7 8 9 10 11 12 13 14 |
<!DOCTYPE html> <html lang="en"> <head> <meta charset="UTF-8"> <meta name="viewport" content="width=device-width,initial-scale=1.0"> <meta http-equiv="X-UA-Compatible" content="ie=edge"> <link rel="stylesheet" href="styles.css"> <script src="script.js" defer></script> <title>My Morning Planner</title> </head> <body> </body> </html> |
Next, add the following lines of code in the <body> tags:
|
1 2 3 4 5 6 7 8 9 10 11 12 13 14 15 16 17 18 19 20 21 22 23 24 25 26 27 28 |
<!DOCTYPE html> <html lang="en"> <head> <meta charset="UTF-8"> <meta name="viewport" content="width=device-width,initial-scale=1.0"> <meta http-equiv="X-UA-Compatible" content="ie=edge"> <link rel="stylesheet" href="styles.css"> <script src="script.js" defer></script> <title>My Morning Planner</title> </head> <body> <div class="container"> <h1><center>MY MORNING PLANNER</center></h1> <h2 class="draggable" draggable="true">Go to the Gym</h2> <h2 class="draggable" draggable="true">Read for 30-minutes</h2> <h2 class="draggable" draggable="true">Prepare Oatmeal</h2> </div> <div class="container"> <h2 class="draggable" draggable="true">Take a Cold Shower</h2> <h2 class="draggable" draggable="true">Start my Day</h2> </div> </body> </html> |
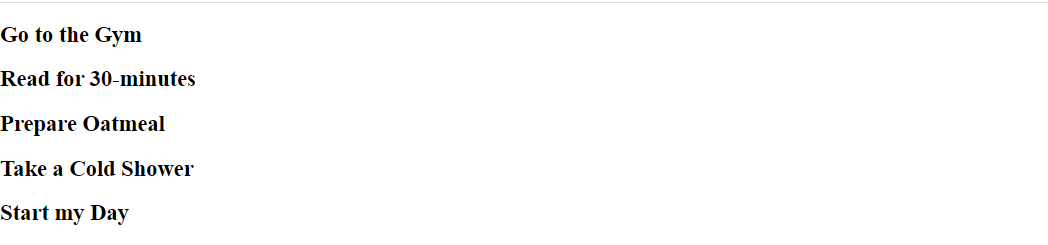
Save and close the index.html file. After that, try opening the index.html file in your browser and you will see a page opening up:
Next, let’s style our index.html using CSS and make it look presentable.
Step 3: Styling using CSS
Next, add styles on all the elements we’ve included in our index.html file:
|
1 2 3 4 5 6 7 8 9 10 11 12 13 14 15 16 |
body { margin: 0; } .container { background-color: #DEB887; padding: 1rem; margin-top: 1rem; } .draggable { padding: 1rem; background-color: #FAF0E6; border: 1px solid #708090; cursor: move; } |
Try opening the index.html file in your browser and see the output:
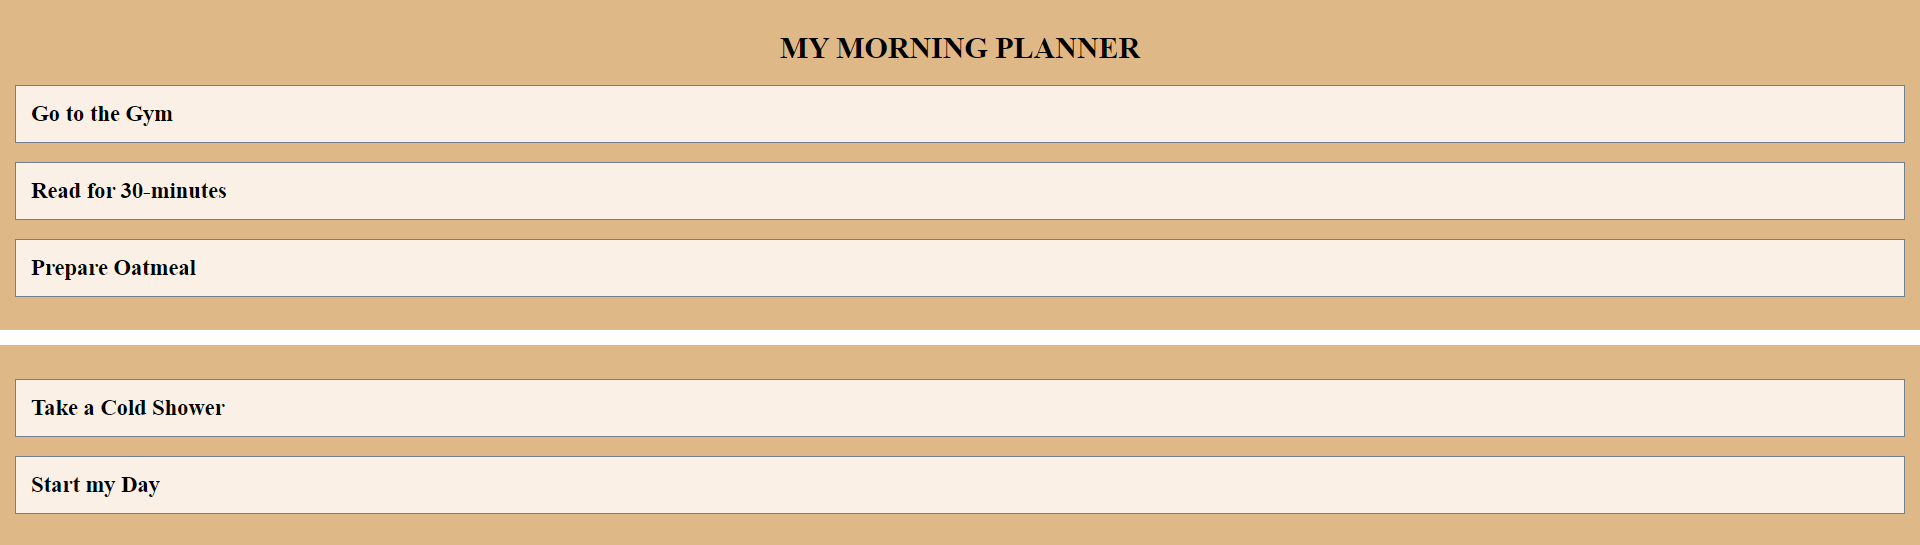
Though we have completed structuring and added styles, the elements are still static. That means, we cannot move or scroll elements until we add dynamic features to them. In the next step, we’ll welcome JavaScript and dynamic behaviors.
Step 4: Introducing JavaScript
In this step, we will introduce JavaScript and make all the drag elements functional. In the JS file, set the elements we’re going to need. Let’s define draggable and containers to drag and drop elements respectively.
Add the two lines of code in the scripts.js file:
|
1 2 |
const draggables = document.querySelectorAll('.draggable') const containers = document.querySelectorAll('.container') |
Next, set up all the event listeners. Begin with adding the “dragstart” element as the first event listener to add the class list. Similarly, add the “dragend” element as the second event listener to remove the class list.
Attach the following EventListeners in your scripts.js file:
|
1 2 3 4 5 6 7 8 9 10 11 12 |
const draggables = document.querySelectorAll('.draggable') const containers = document.querySelectorAll('.container') draggables.forEach(draggable => { draggable.addEventListener('dragstart', () => { draggable.classList.add('dragging') }) draggable.addEventListener('dragend', () => { draggable.classList.remove('dragging') }) }) |
Next, add the “dragover” EventListener for hovering and moving our elements around. Set the current draggable element using the querySelector and then append the draggable element to the current container:
|
1 2 3 4 5 6 |
// … containers.forEach(container => { container.addEventListener('dragover', () => { const draggable = document.querySelector('.dragging') }) }) |
By default, dropping inside of an element is disabled. Use e.preventDefault to enable it:
|
1 2 3 4 5 6 7 8 |
// … containers.forEach(container => { container.addEventListener('dragover', e => { e.preventDefault() const draggable = document.querySelector('.dragging') container.appendChild(draggable) }) }) |
Next, create an element to determine the mouse positioning. Start with creating a function getDragAfterElement where it will take two parameters. The first will be a container and the second parameter y will take care of the wide position of the mouse. Now, use the querySelectorAll function to get our draggable elements. Define a draggableElements to all the draggable elements inside the container:
|
1 2 3 4 |
// … function getDragAfterElement(container, y) { const draggableElements = [...container.querySelectorAll('.draggable:not(.dragging)')] } |
Next, call a reduce function which will loop through the list of draggable elements and also specify the single element after the mouse cursor. Next, return the reduce function by adding the first element as closest and the second as a child. Also, equate the offset and add conditions.
Add the following lines of code in the scripts.js file:
|
1 2 3 4 5 6 7 8 9 10 11 12 |
// … return draggableElements.reduce((closest, child) => { const box = child.getBoundingClientRect() const offset = y - box.top - box.height / 2 if (offset < 0 && offset > closest.offset){ return { offset: offset, element: child } } else { return closest } }, { offset: Number.NEGATIVE_INFINITY}).element } |
Include this in the scripts.js file:
|
1 2 3 4 5 6 7 8 9 10 11 12 13 14 |
// … containers.forEach(container => { container.addEventListener('dragover', e =>{ e.preventDefault() const afterElement = getDragAfterElement(container, e.clientY) const draggable = document.querySelector('.dragging') if (afterElement == null) { container.appendChild(draggable) } else { container.insertBefore(draggable, afterElement) } }) }) |
Now we have the necessary setup done. Open your browser and run index.html in your browser. You will see the page “My Morning Scheduler” with options to drag and drop. The white line in the middle acts as a bridge to differentiate between the tasks already done to the ones that are yet to be done:
Conclusion
Drag and Drop is an excellent option to use in modern-day websites. In this guide, we have used a handful of event handlers to make the tutorial easy for beginners. There are eight event handlers in total and we encourage you to use them as you advance. Once you’re comfortable using the functions and the code used in this tutorial, you can dive more into JavaScript topics like jQuery and start exploring. You can also try building a To-Do app, weekly progress tracker using JavaScript date and time features, and other applications using the concepts you have just learned.
To further learn more on JavaScript and web development topics, check these resources from our blog:
- JavaScript Tools: localStorage and sessionStorage
- Working with JavaScript: What are Objects
- A Tutorial on Working with JSON in JavaScript
- Working with JavaScript: How Classes Operate
Happy Computing!
- How To Set Up GitHub Continuous Integration Pipelines With Self-Hosted Runners on Ubuntu 22.04. - March 20, 2023
- Managing CSV in Node.js using Node-CSV - March 15, 2023
- Containerize A Python App using Docker - March 7, 2023
- Using GitLab for Managing Projects - September 15, 2022
- Creating Drag and Drop Elements with Pure, Vanilla JavaScript - August 4, 2022