

Go is an open-source general-purpose programming language. It was inspired by the productivity of Python while offering the ability of C. It was originally developed by Google to tackle issues they were facing with their codebase (code complexity and long compilation time). Like any other modern-day programming language, Go is suitable for all sorts of purposes. For example, it could be utilized for web development, command-line scripting, networking server apps, front-end development, etc.
In this guide, we will walk you through the steps of deploying a simple Go web application on Ubuntu 22.04 LTS. We will also implement an Nginx reverse proxy to handle the traffic load.
Prerequisites
To perform the steps demonstrated in this guide, you will need the following components pre-configured:
- A properly-configured Ubuntu Learn more about setting up your own Ubuntu server on CloudSigma.
- Go programming environment with the necessary environment variables ( $GOROOT and $GOPATH). Check out the guide on configuring the Go programming environment on Ubuntu.
- Nginx for reverse proxy. This guide elaborates on installing and configuring Nginx on Ubuntu.
- A suitable text editor for working with the Go code, for example, Atom, Sublime Text, Brackets, VS Code, Vim, etc. For this guide, VS Code will be our text editor of choice.
If the service is to be accessible by a domain name, then you must have an FQDN pointed to the server. In that case, it’s recommended to secure Nginx with SSL. You can learn more about securing Nginx with Let’s Encrypt on Ubuntu from our tutorial.
Step 1 – Creating a Go Web App
We will build a simple Go web app that will print “Hello World” on the screen when accessing the domain. Furthermore, the app will greet the user when accessing <domain>/greet/<username>.
Start by creating a new project under
$GOPATH. Create the project directory:
|
1 |
mkdir -pv $GOPATH/go-web |

Change the current directory:
|
1 |
cd $GOPATH/go-web |

Then, initiate a project:
|
1 |
go mod init <package_name> |

Next, create
main.go that will serve as the root of our Go application. It will host the source code for our web app:
|
1 |
touch main.go |
Open the project in VS Code:
|
1 |
code . |
Paste the following code in the file
main.go:
|
1 2 3 4 5 6 7 8 9 10 11 12 13 14 15 16 17 18 19 |
package main import ( "fmt" "net/http" ) func main() { http.HandleFunc("/", func(w http.ResponseWriter, r *http.Request) { fmt.Fprintf(w, "Hello World") }) http.HandleFunc("/greet/", func(w http.ResponseWriter, r *http.Request) { name:= r.URL.Path[len("/greet/"):] fmt.Fprintf(w, "Hello %s\n", name) }) http.ListenAndServe(":9990", nil) } |
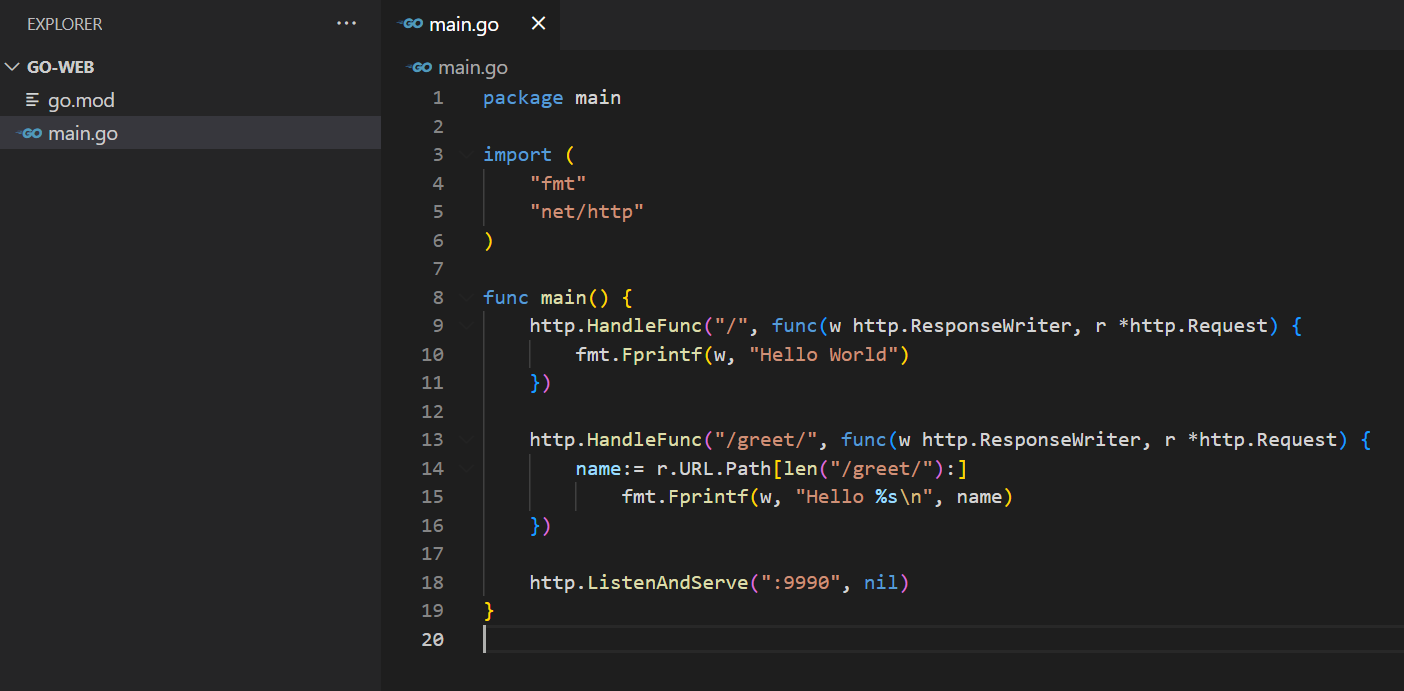
Let’s have a quick breakdown of the Go program we just created:
- The term package main serves as the entry point to our application. It also instructs the Go compiler to compile the file as an executable instead of a shared library.
- The import statement imports all the additional modules required for the program to work. Here, we’ve imported the fmt (for printing texts) and net/http (for web server applications) packages.
- Using the function
http.HandleFunc, we established two routes:
- The first route / serves as the parent route within func main.
- The second route
/greet/ accepts a URL parameter (a string, in this case). The string is then displayed accompanied by the greeting message.
- URL Path is used for storing the value after /greet/. The value is then passed down as the name of the URL parameter.
- The http.ListenAndServe function initiates the webserver. Here, it’s listening to port 9990.
Now that our program is ready, compile the file into an executable:
|
1 |
go build main.go |
The Go compiler will create an executable with the same name as the file. Check out the output:
|
1 |
ls -lh |

Step 2 – Configuring a systemd Unit File for Background Execution
Until now, if the current user logs out of the system, the Go web app will stop running. That’s a bad design for a web server. To solve this issue, we will create a systemd unit file to keep it running in the background, even when the user logs out of the server. It brings the configuration one step closer to being a production-grade deployment.
Create a dedicated systemd file
goweb.service under
/lib/systemd/system:
|
1 |
sudo nano /lib/systemd/system/goweb.service |
Add the following snippet in the unit file:
|
1 2 3 4 5 6 7 8 9 10 11 |
[Unit] Description=goweb [Service] Type=simple Restart=always RestartSec=5s ExecStart=/home/<username>/go/go-web/main [Install] WantedBy=multi-user.target |
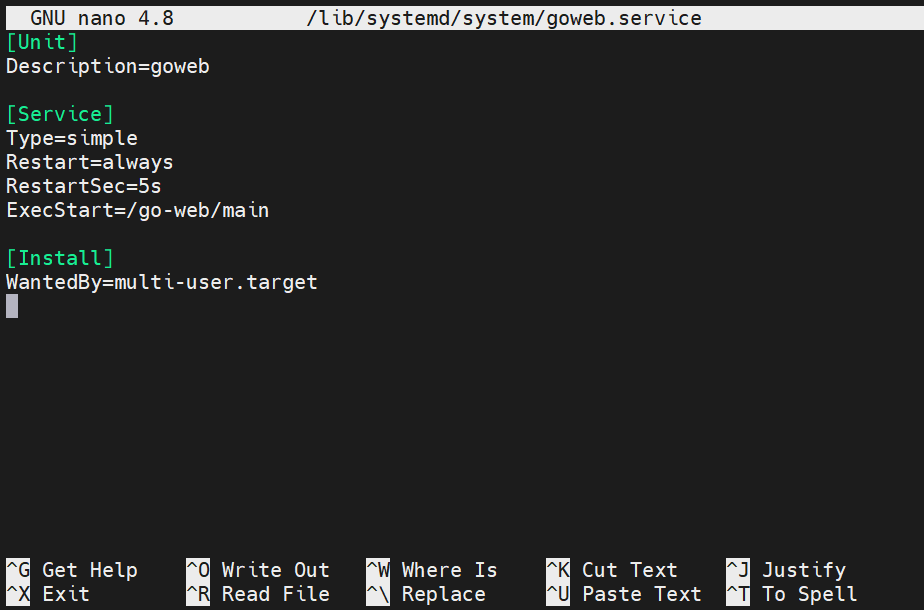
Here,
- The variable ExecStart indicates the point of entry for the service through the main executable located in our project directory ( $GOPATH/go-web). Note that instead of mentioning $GOPATH, we typed the full path to the executable file. It’s because the $GOPATH variable is only visible to the user.
- The variable Restart tells systemd what to do in the event the program stops running. The value always tells systemd to restart the program every single time it stops executing.
- The variable RestartSec tells systemd to wait a specific amount of time before attempting to restart the program. Here, the value is set to 5s (5 seconds).
- The statement WantedBy=multi-user.target specifies in what state systemd will enable the service.
Save the file and close the editor. Start the service:
|
1 |
sudo service goweb start |

Verify if the service is up and running:
|
1 |
sudo service goweb status |
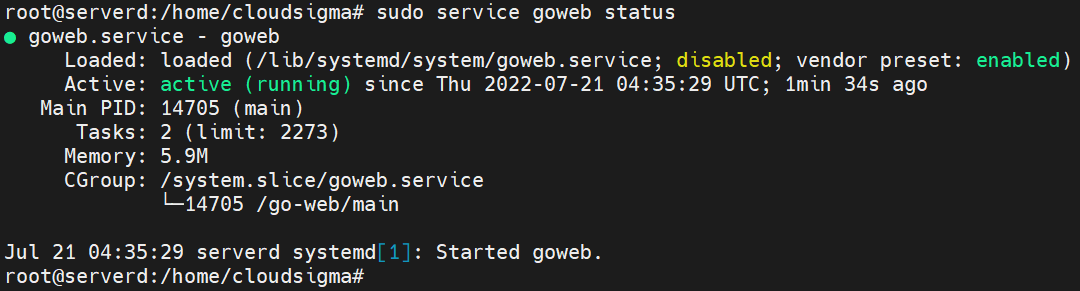
As the output suggests, the application is up and running. We are now ready to use Nginx as the reverse proxy.
Step 3 – Configuring Nginx as a Reverse Proxy
Now, we will create a server block for Nginx to act as a reverse proxy. The web app will be exposed to the internet through the reverse proxy (for additional performance and security).
Change the current active directory to
sites-available:
|
1 |
cd /etc/nginx/sites-available |

Now, create a file with the domain name you wish to expose your application. For demonstration, we will be using
example.com:
|
1 |
sudo nano example.com |
Enter the following code in the block file:
|
1 2 3 4 5 6 |
server { server_name example.com www.example.com; location / { proxy_pass http: //localhost:9990; } } |
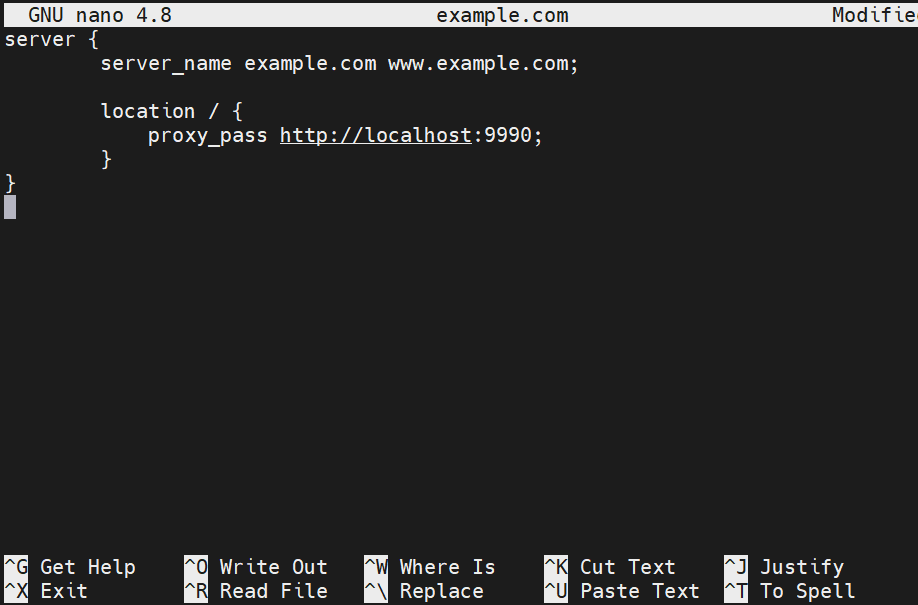
Here, we are using proxy_pass to serve the Go web app on the server’s IP address (localhost) on port 9990.
To enable the Nginx block, create a symlink (also known as a soft link) of the file to sites-enabled folder:
|
1 |
sudo ln -s /etc/nginx/sites-available/example.com /etc/nginx/sites-enabled/example.com |

Reload the Nginx configuration to take the changes into effect:
|
1 |
sudo nginx -s reload |

Step 4 – Verification
If everything went as expected, then the web application should now be accessible on
localhost:9990 and the domain we configured. Open the URL in a web browser:
|
1 |
localhost:9990 |
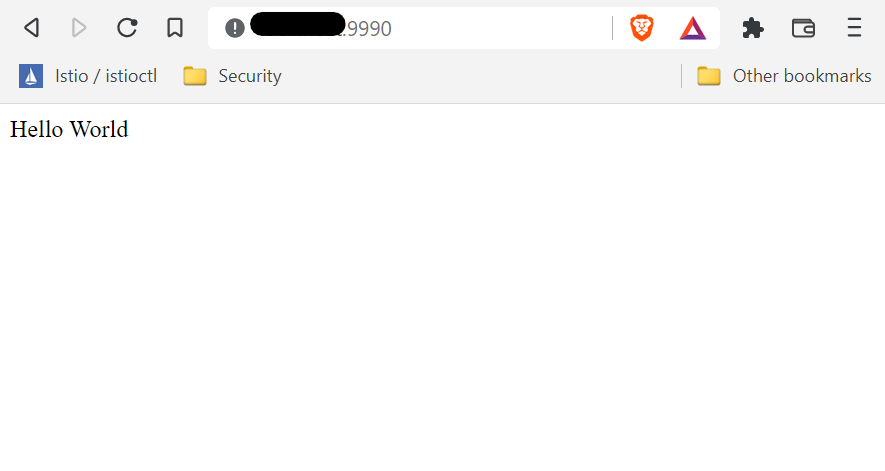
As expected, the application is printing “Hello World” on the screen. This is the job of the primary route. Next, test the second route by visiting the following URL:
|
1 |
localhost:9990/greet/<name> |
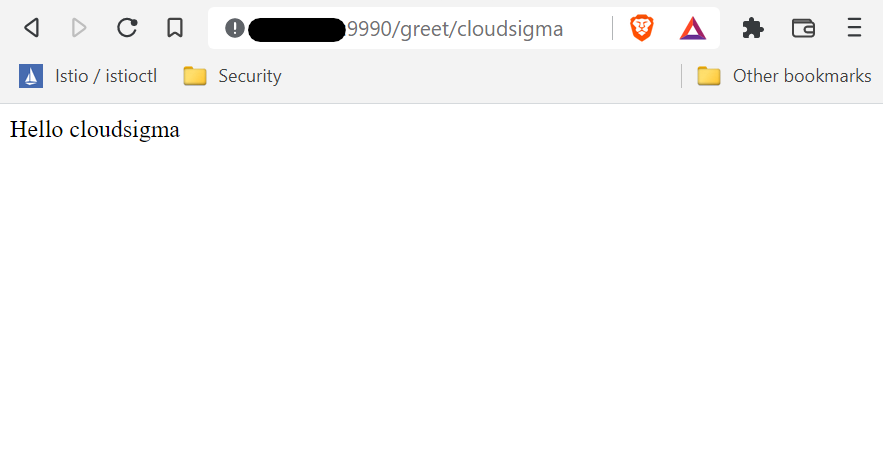
The application is successfully returning the simple greeting message with the name from the parameter received from the URL.
Voila! We have successfully deployed a Go web application on our local server!
Final Thoughts
In this guide, we demonstrated deploying a simple Go web application with the help of Go standard libraries. We also deployed a reverse proxy using Nginx. While the demonstration was performed on a local server, for a public server, it’s strongly recommended to implement an SSL certificate for secure exposure to the internet. For more Go programming, you can check out our tutorial on Building and Installing Go Programs.
Happy Computing!
- How to Deploy WordPress with Persistent Volume on Kubernetes Cluster - March 17, 2023
- Deploying Applications on Kubernetes Using Argo CD and GitOps - October 26, 2022
- Using Node.js Modules with npm and package.json: A Tutorial - October 6, 2022
- Using Ansible to Install and Configure WordPress with LAMP on Ubuntu - September 23, 2022
- Creating Views in the Django Web Application Framework - September 22, 2022