Go is an open-source programming language. Originally designed at Google, Go shares syntax similarities with C. However, it includes additional programming features like structural typing, garbage collection, memory safety, and CSP-style concurrency. Most of the time, the Go programming language is referred to as “Golang” because of the official Go domain name.
This guide demonstrates installing and configuring the latest version of Go on Ubuntu.
Go on Ubuntu
Just like installing any other package, it requires that you have root access or a non-root user with sudo privilege. All the demonstrations were performed on a standard Ubuntu server. Here’s a quick guide on setting up your Ubuntu server. There are multiple methods we can apply to install Go on Ubuntu. We can install Go directly from the Ubuntu package servers. Alternatively, Go is also available from the Snapcraft store.
We can manually configure Go without having to use any package manager. However, this method comes with inconveniences like complex installation methods, manual package management, etc. CloudSigma offers API for Go programming for easier cloud management.
-
Installing Go from the Ubuntu package server
This is the simplest way of installing Go on Ubuntu. It can directly be installed using the APT package manager. It will also automatically keep the package up-to-date. If not needed, it’s easier to uninstall Go.
There are two types of Go available on Ubuntu – golang-go and gccgo-go. The gccgo-go is the GCC implementation of the Go language whereas golang-go is the original implementation by Google. Both come with their own perks. In this guide, we’ll focus on golang-go, the original Go compiler. First, run the following command to install golang-go:
|
1 |
$ sudo apt update && sudo apt install golang-go -y |
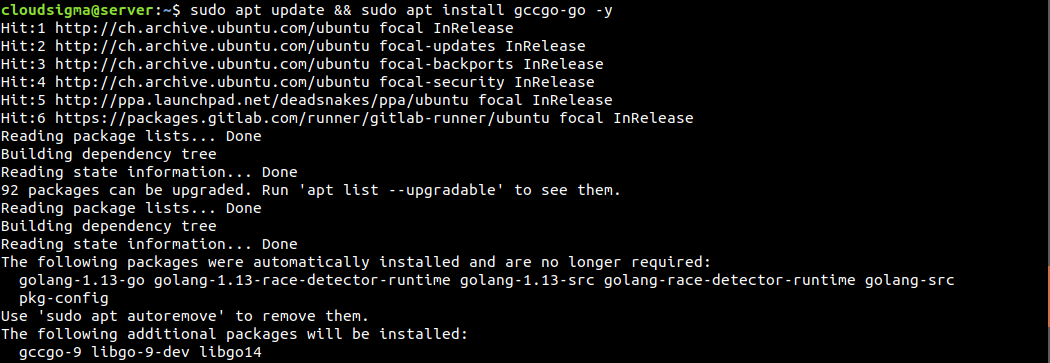
If you want to install gccgo-go, then run the following command instead. Note that installing both golang-go and gccgo-go isn’t possible, because they conflict with each other. Golang has an official documentation page on gccgo.
|
1 |
$ sudo apt update && sudo apt install gccgo-go -y |
-
Installing Go snap
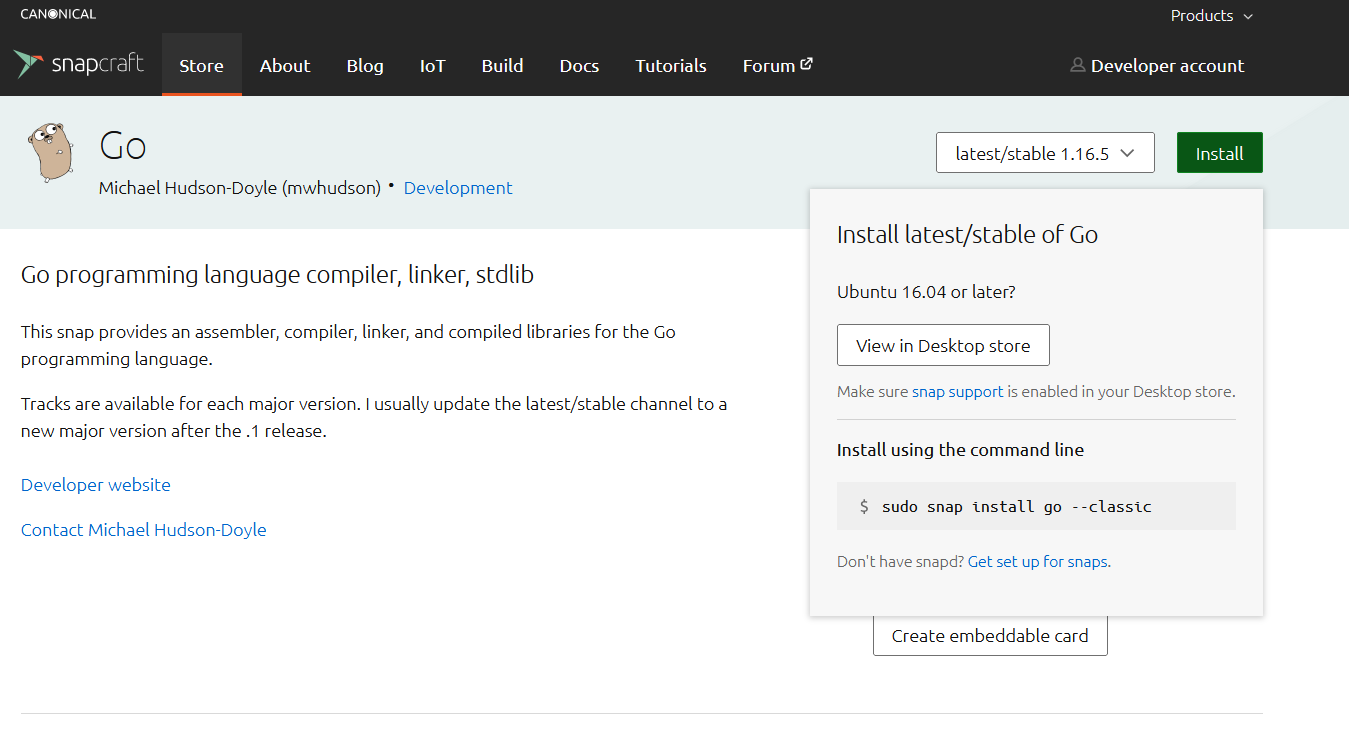
Snaps are universal Linux packages that can function on any Linux distro. Go is available as snap for all Linux distros. You can check out Go on Snapcraft:

snap requires having snapd installed. It’s the snap daemon (along with snappy, the snap package manager) required to install and manage snap packages. Ubuntu comes with snapd installed by default. If it’s not installed, then follow the official snap installation guide on Ubuntu. The following snap command will install Go from Snapcraft:
|
1 |
$ sudo snap install go --classic |
-
Installing Go manually
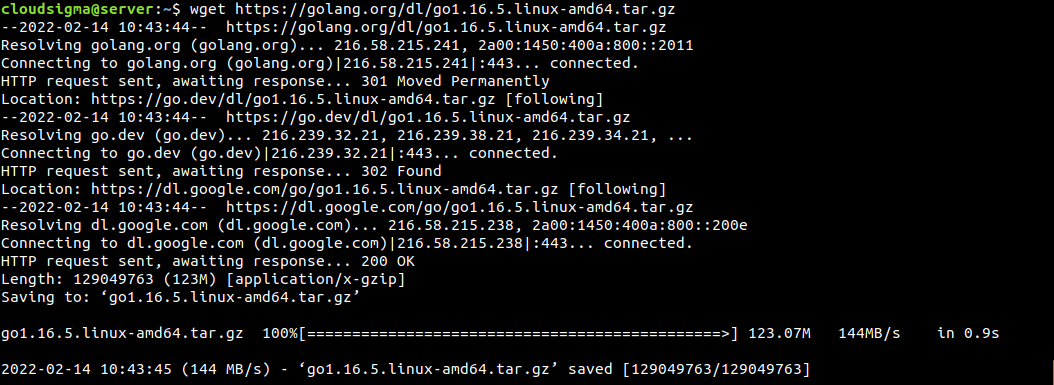
As mentioned before, this process is a bit messy. You have to manually manage the Go package. First, we need to download the Go binary package. The Go download page lists all the available binary packages. At the time of writing this guide, the latest stable Go package is go1.16.5.linux-amd64.tar.gz:
|
1 |
$ wget https://golang.org/dl/go1.16.5.linux-amd64.tar.gz |
Once the download is complete, we will extract the archive at /usr/local/go. It will remove any previous installations of Go at the location:
|
1 |
$ sudo rm -rf /usr/local/go && sudo tar -C /usr/local -xzf go1.16.5.linux-amd64.tar.gz |
Next, we need to update the PATH environment variable to include the Go binary path. The system uses the PATH variable to find binaries:
|
1 |
$ export PATH=$PATH:/usr/local/go/bin |
The PATH changes will only last for the current shell session. To make a permanent change, you need to declare the new value of PATH in either ~/.profile (for the current user only) or /etc/profile (for all users in the system). Reload the file to take the changes into effect:
|
1 2 |
$ source ~/.profile $ source /etc/profile |
Verifying Installation
-
Go version
The installation of Go is now complete! Next, we need to verify that it was successful. Run the following Go command. It will print out the Go version:
|
1 |
$ go version |
-
Sample program
The next process in verification is to create the classic hello world program. First, we need to create the workspace. Go uses the variable GOPATH that specifies the workspace location. By default, it’s set to the location $HOME/go. Create the workspace:
|
1 |
$ mkdir -v ~/go |
Within the workspace, create a new directory tree src/hello:
|
1 |
$ mkdir -pv ~/go/src/hello |
Next, open a new file within the directory hello.go:
|
1 |
$ vim ~/go/src/hello/hello.go |
After that, add the following code in the Go file:
|
1 2 3 4 5 6 |
package main import "fmt" func main() { fmt.Printf("hello world!\n") } |
Finally, navigate to the workspace directory and run the program:
|
1 2 |
$ cd ~/go/src/hello $ go run hello.go |
If this is your first time installing Go, then you should also check out the official starting guide on Golang.
Final Thoughts
Go is a powerful programming language. Many popular applications use Go, for example, Kubernetes, Dropbox, Openshift, InfluxDB, and more. Go has a simple language design, independent of platform, and comes with a powerful standard library. With the help of this guide, you are now ready to start your journey with Go programming.
Happy Computing!
- How To Enable, Create and Use the .htaccess File: A Tutorial - March 8, 2023
- An Overview of Queries in MySQL - October 28, 2022
- Introduction to Cookies: Understanding and Working with JavaScript Cookies - October 25, 2022
- An Overview of Data Types in Ruby - October 24, 2022
- The Architecture of Iptables and Netfilter - October 10, 2022


