
In this tutorial, I will be setting up an Open VPN server under Docker with CloudSigma. With CloudSigma’s cloud locations spread all over the globe, you can create a server in any of them and access the content from there.
Creating the machine
First, I am creating a machine with the following resources:
20 GHz CPU
16 GB RAM
20 GB SSD
I am mounting the disk with Ubuntu 18.04 image available in CloudSigma’s library.
Ubuntu 18.04 : Pre-installed 64bit with VirtIO drivers, superuser, Python 2.7.15, Pip 18.0, OpenSSL 1.1.0i, Cloud-init and latest updates until 2018-09-30.
Updating all existing repos and packages on the machine.
|
1 2 |
sudo apt update sudo apt upgrade |
Now that our system is up to date, I will move towards installing Docker. For more info on Docker, please check here.
Installing Docker
I can install Docker executing the following commands:
|
1 2 3 4 5 6 7 8 9 10 11 12 13 14 15 |
sudo apt-get install \ apt-transport-https \ ca-certificates \ curl \ software-properties-common curl -fsSL https://download.docker.com/linux/ubuntu/gpg | sudo apt-key add - sudo add-apt-repository \ "deb [arch=amd64] https://download.docker.com/linux/ubuntu \ $(lsb_release -cs) \ stable" sudo apt-get update sudo apt-get install docker-ce |
OpenVPN
Now that Docker is successfully installed, I can start with getting OpenVPN Access Server working on it. Following is the command for creating a new Docker container of OpenVPN Access Server with the specified configuration.
|
1 2 3 4 5 6 7 8 |
docker create \ --name=openvpn-as \ -v <path to data>:/config \ -e PGID=<gid> -e PUID=<uid> \ -e TZ=<timezone> \ -e INTERFACE=<interface> \ --net=host --privileged \ linuxserver/openvpn-as |
The following commands are mentioned on Docker image’s page.
Where openvpn-as should store configuration files:
|
1 |
-v /config |
For GroupID:
|
1 |
-e PGID |
Used for UserID:
|
1 |
-e PUID |
For Timezone setting:
|
1 |
-e TZ |
Setting interface for openvpn-as default is eth0:
|
1 |
-e INTERFACE |
IMPORTANT, for most users, needs to operate in host mode:
|
1 |
--net=host |
IMPORTANT, will not operate unless in privileged mode:
|
1 |
--privileged |
To get group id and user id, execute the following command:
|
1 |
id |
I am mentioning the timezone as CET.
For interface, execute the following command:
|
1 |
ip r |
The interface would generally be ens3 or eth0. For my system, it is ens3.
After adding all these things, I am executing the following command:
|
1 2 3 4 5 6 7 8 |
sudo docker create --name=openvpn-as \ --restart=always \ -v /home/docker/openvpn-as/config:/config \ -e INTERFACE=ens3 \ -e PGID=1004 -e PUID=1000 \ -e TZ=Europe/Warsaw \ --net=host --privileged \ linuxserver/openvpn-as |
Since we don’t have the image already in our system, the image will be pulled from the server. The output would be:
|
1 2 3 4 5 6 7 8 9 10 11 12 13 14 15 |
Unable to find image 'linuxserver/openvpn-as:latest' locally latest: Pulling from linuxserver/openvpn-as 56d9dc91333b: Pull complete 1356b0cfc067: Pull complete 155f3c53d4a5: Pull complete 05088c205b6d: Pull complete 112068b0fa4e: Pull complete 2ff5dd4a0d9b: Pull complete 7dd87385ca73: Pull complete d966d969c7cd: Pull complete 4439dbcda217: Pull complete 5f960f89c64e: Pull complete Digest: sha256:d65f743bcec24b6b6ad0b19f9d7876cd70d5237690a940301b2366d6d5767a80 Status: Downloaded newer image for linuxserver/openvpn-as:latest f0a1eb5440b5a423f8f21081d8654aaba2c0bd9995d2dea88a979c97ea977e16 |
Starting up the container with this command:
|
1 |
sudo docker start openvpn-as |
Log in
Now that I have started it, I will go to the admin panel of the access server.
Going to the URL: https://<<YourIpAddress>>:943/admin
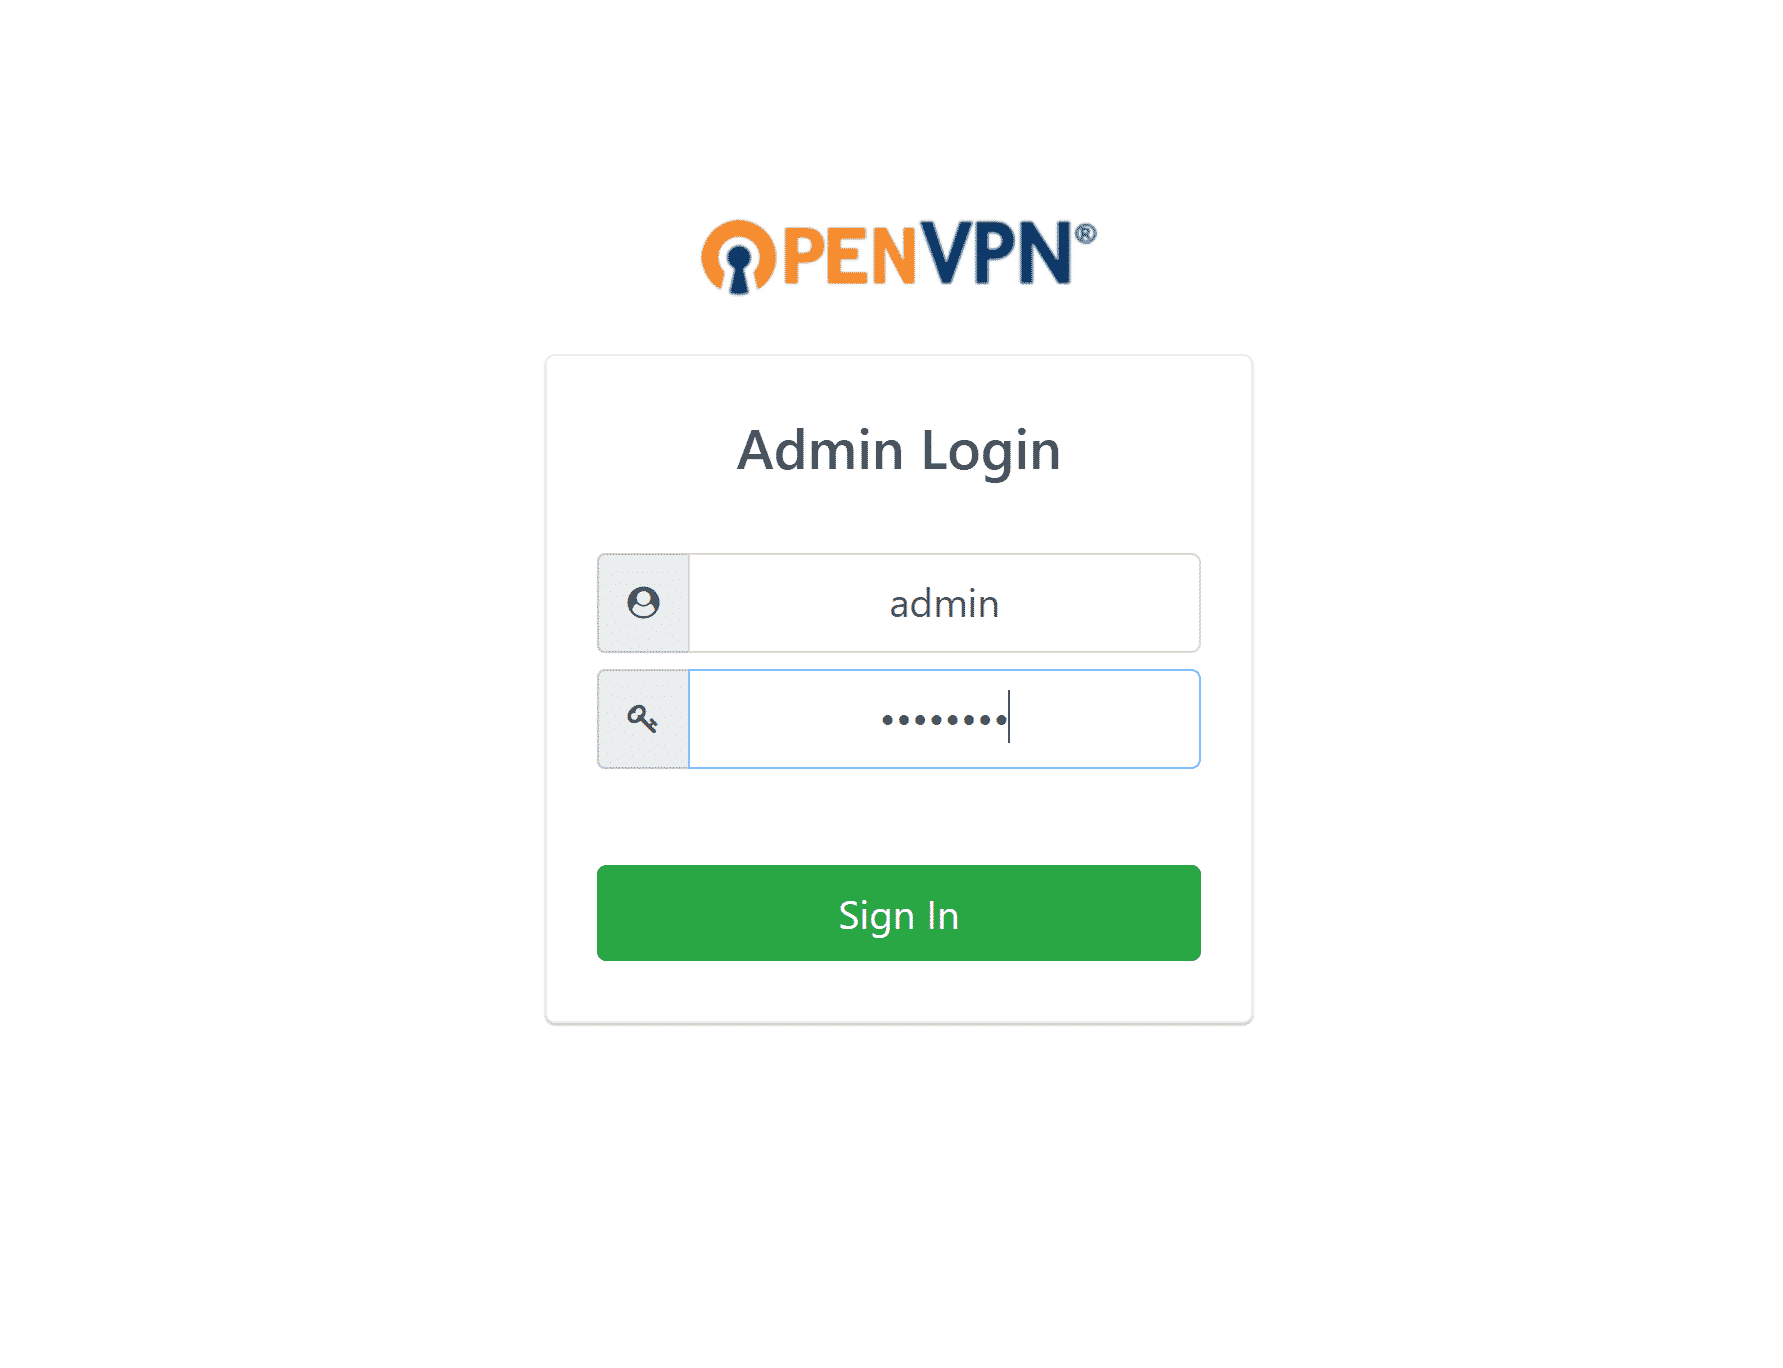
It will ask for the username and password which by default is:
Username: admin
Password: password

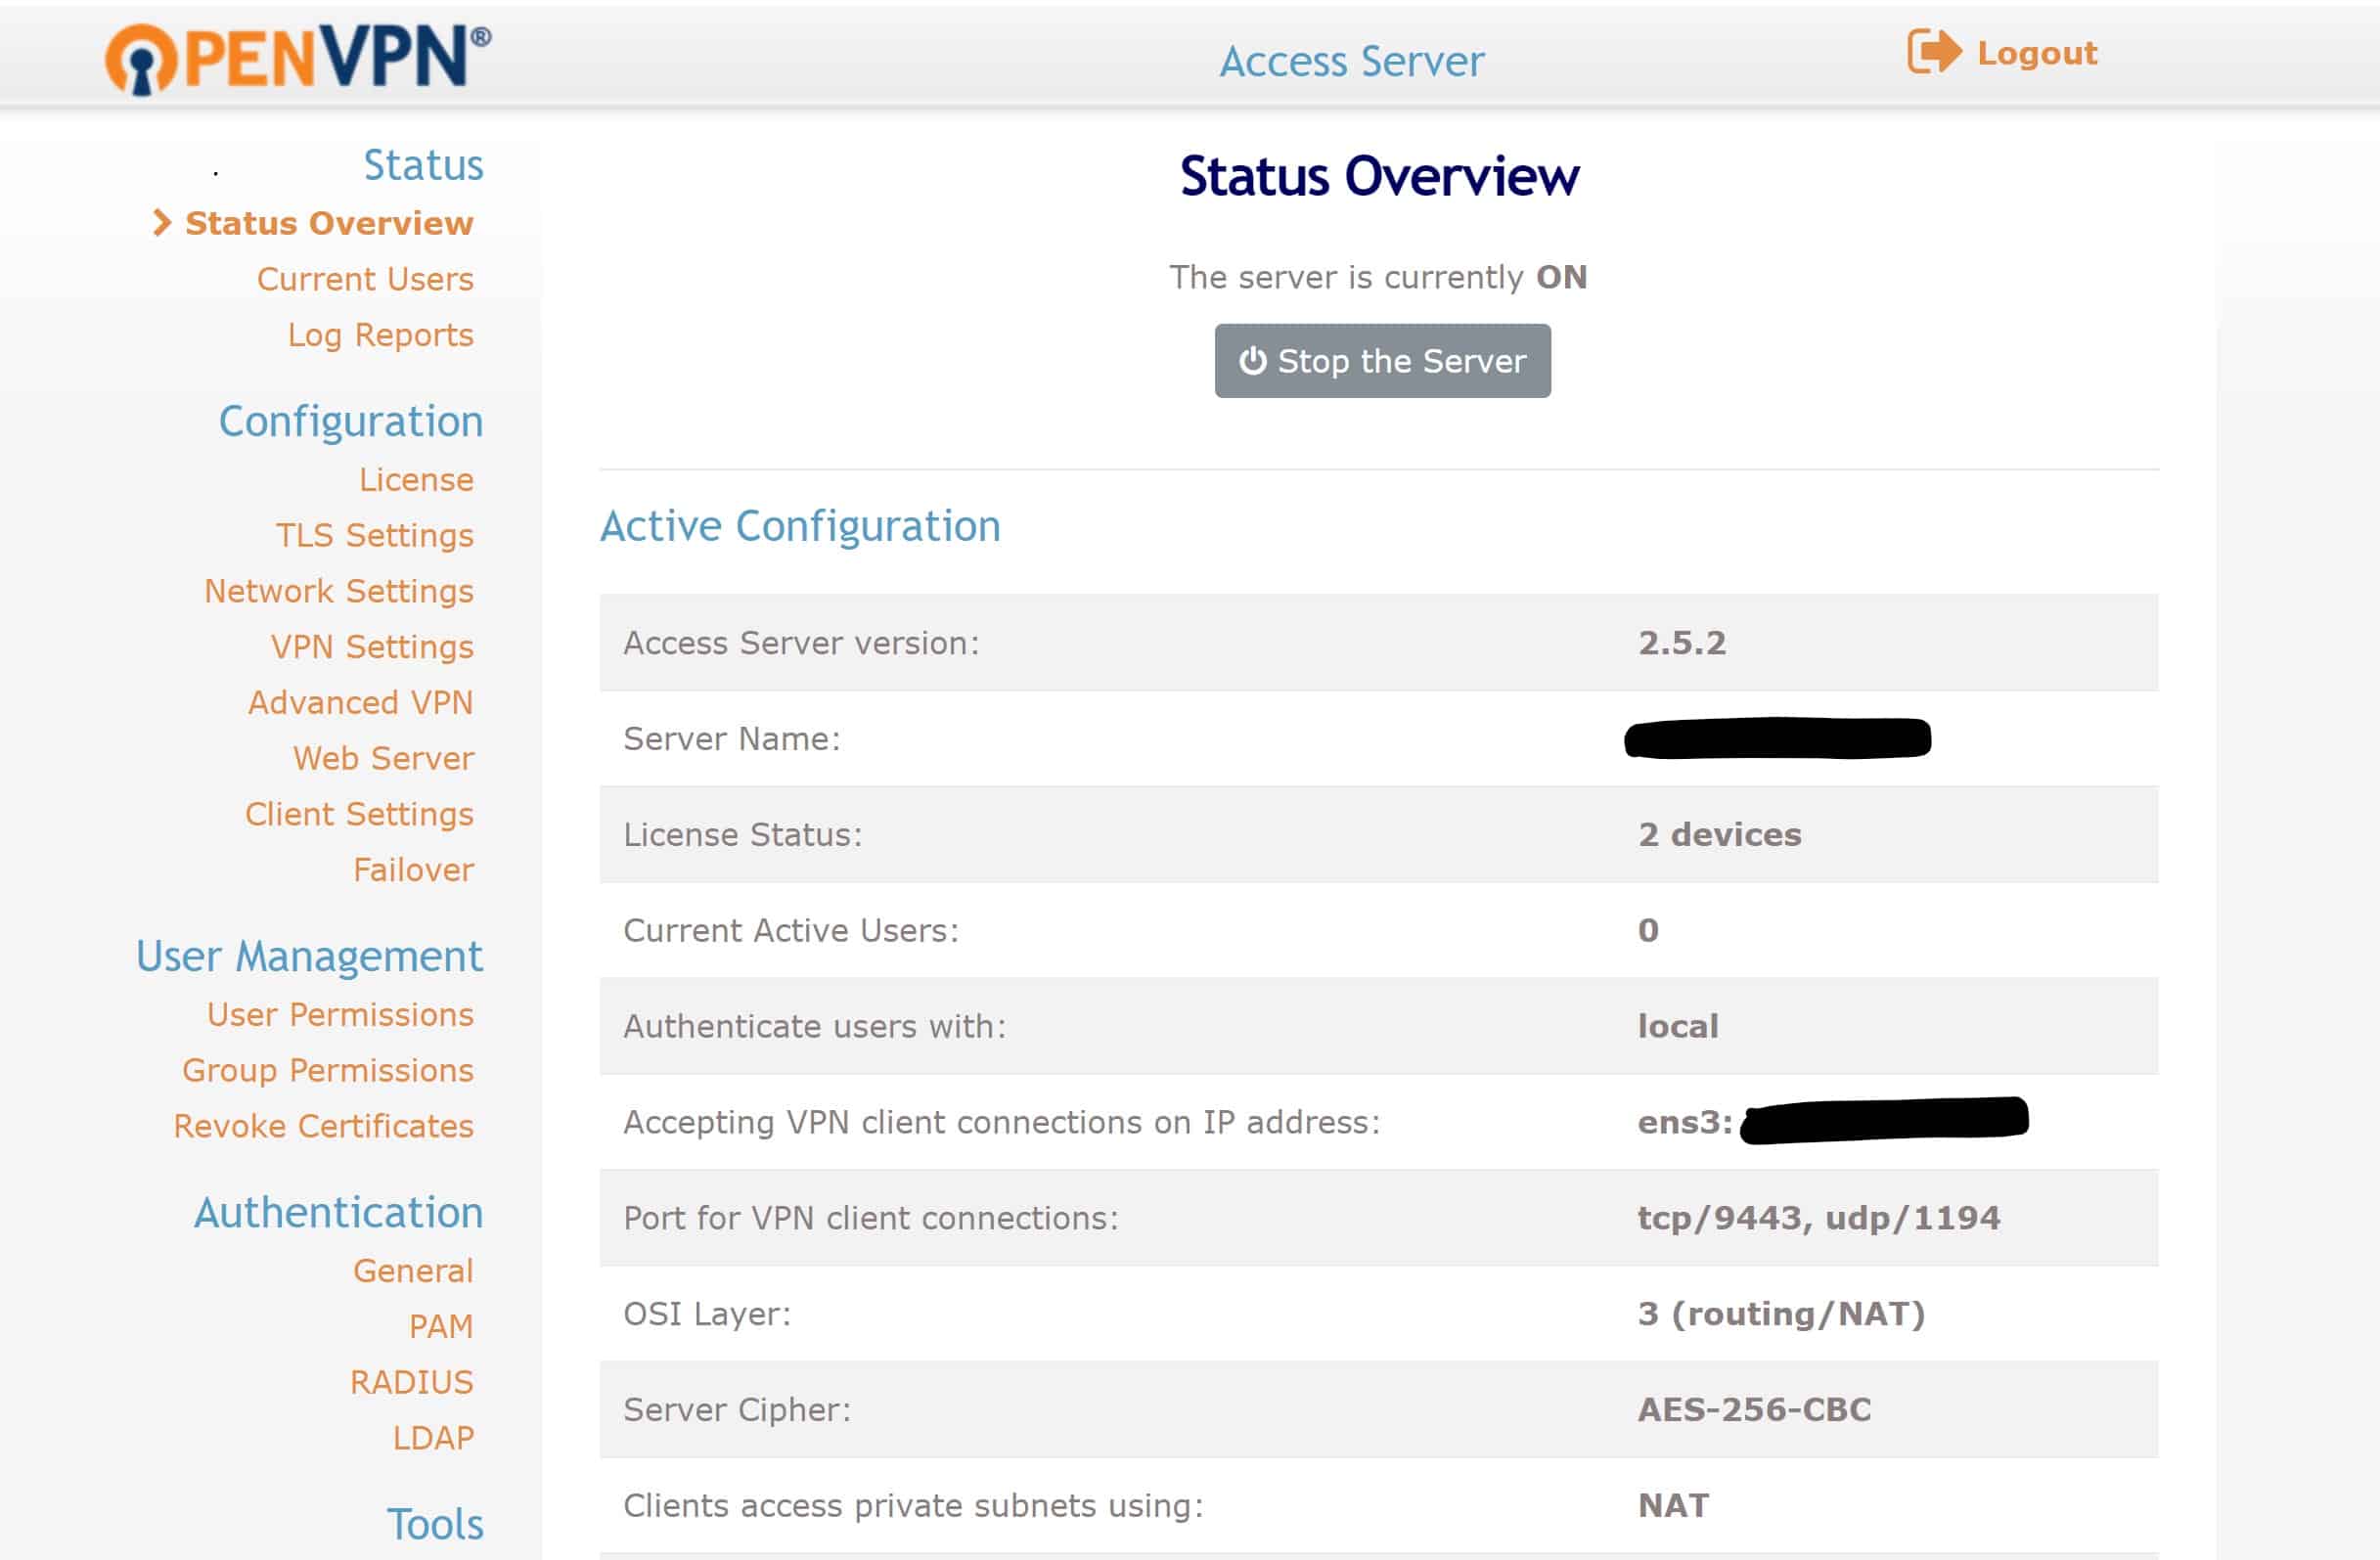
Now that I have logged in, it asks whether I accept the EULA (End User License Agreement). Clicking on Agree and moving to the admin dashboard.
It is recommended to change the password of the admin account for security purposes. I am changing it, using the following command:
|
1 |
docker exec -it openvpn-as passwd admin |
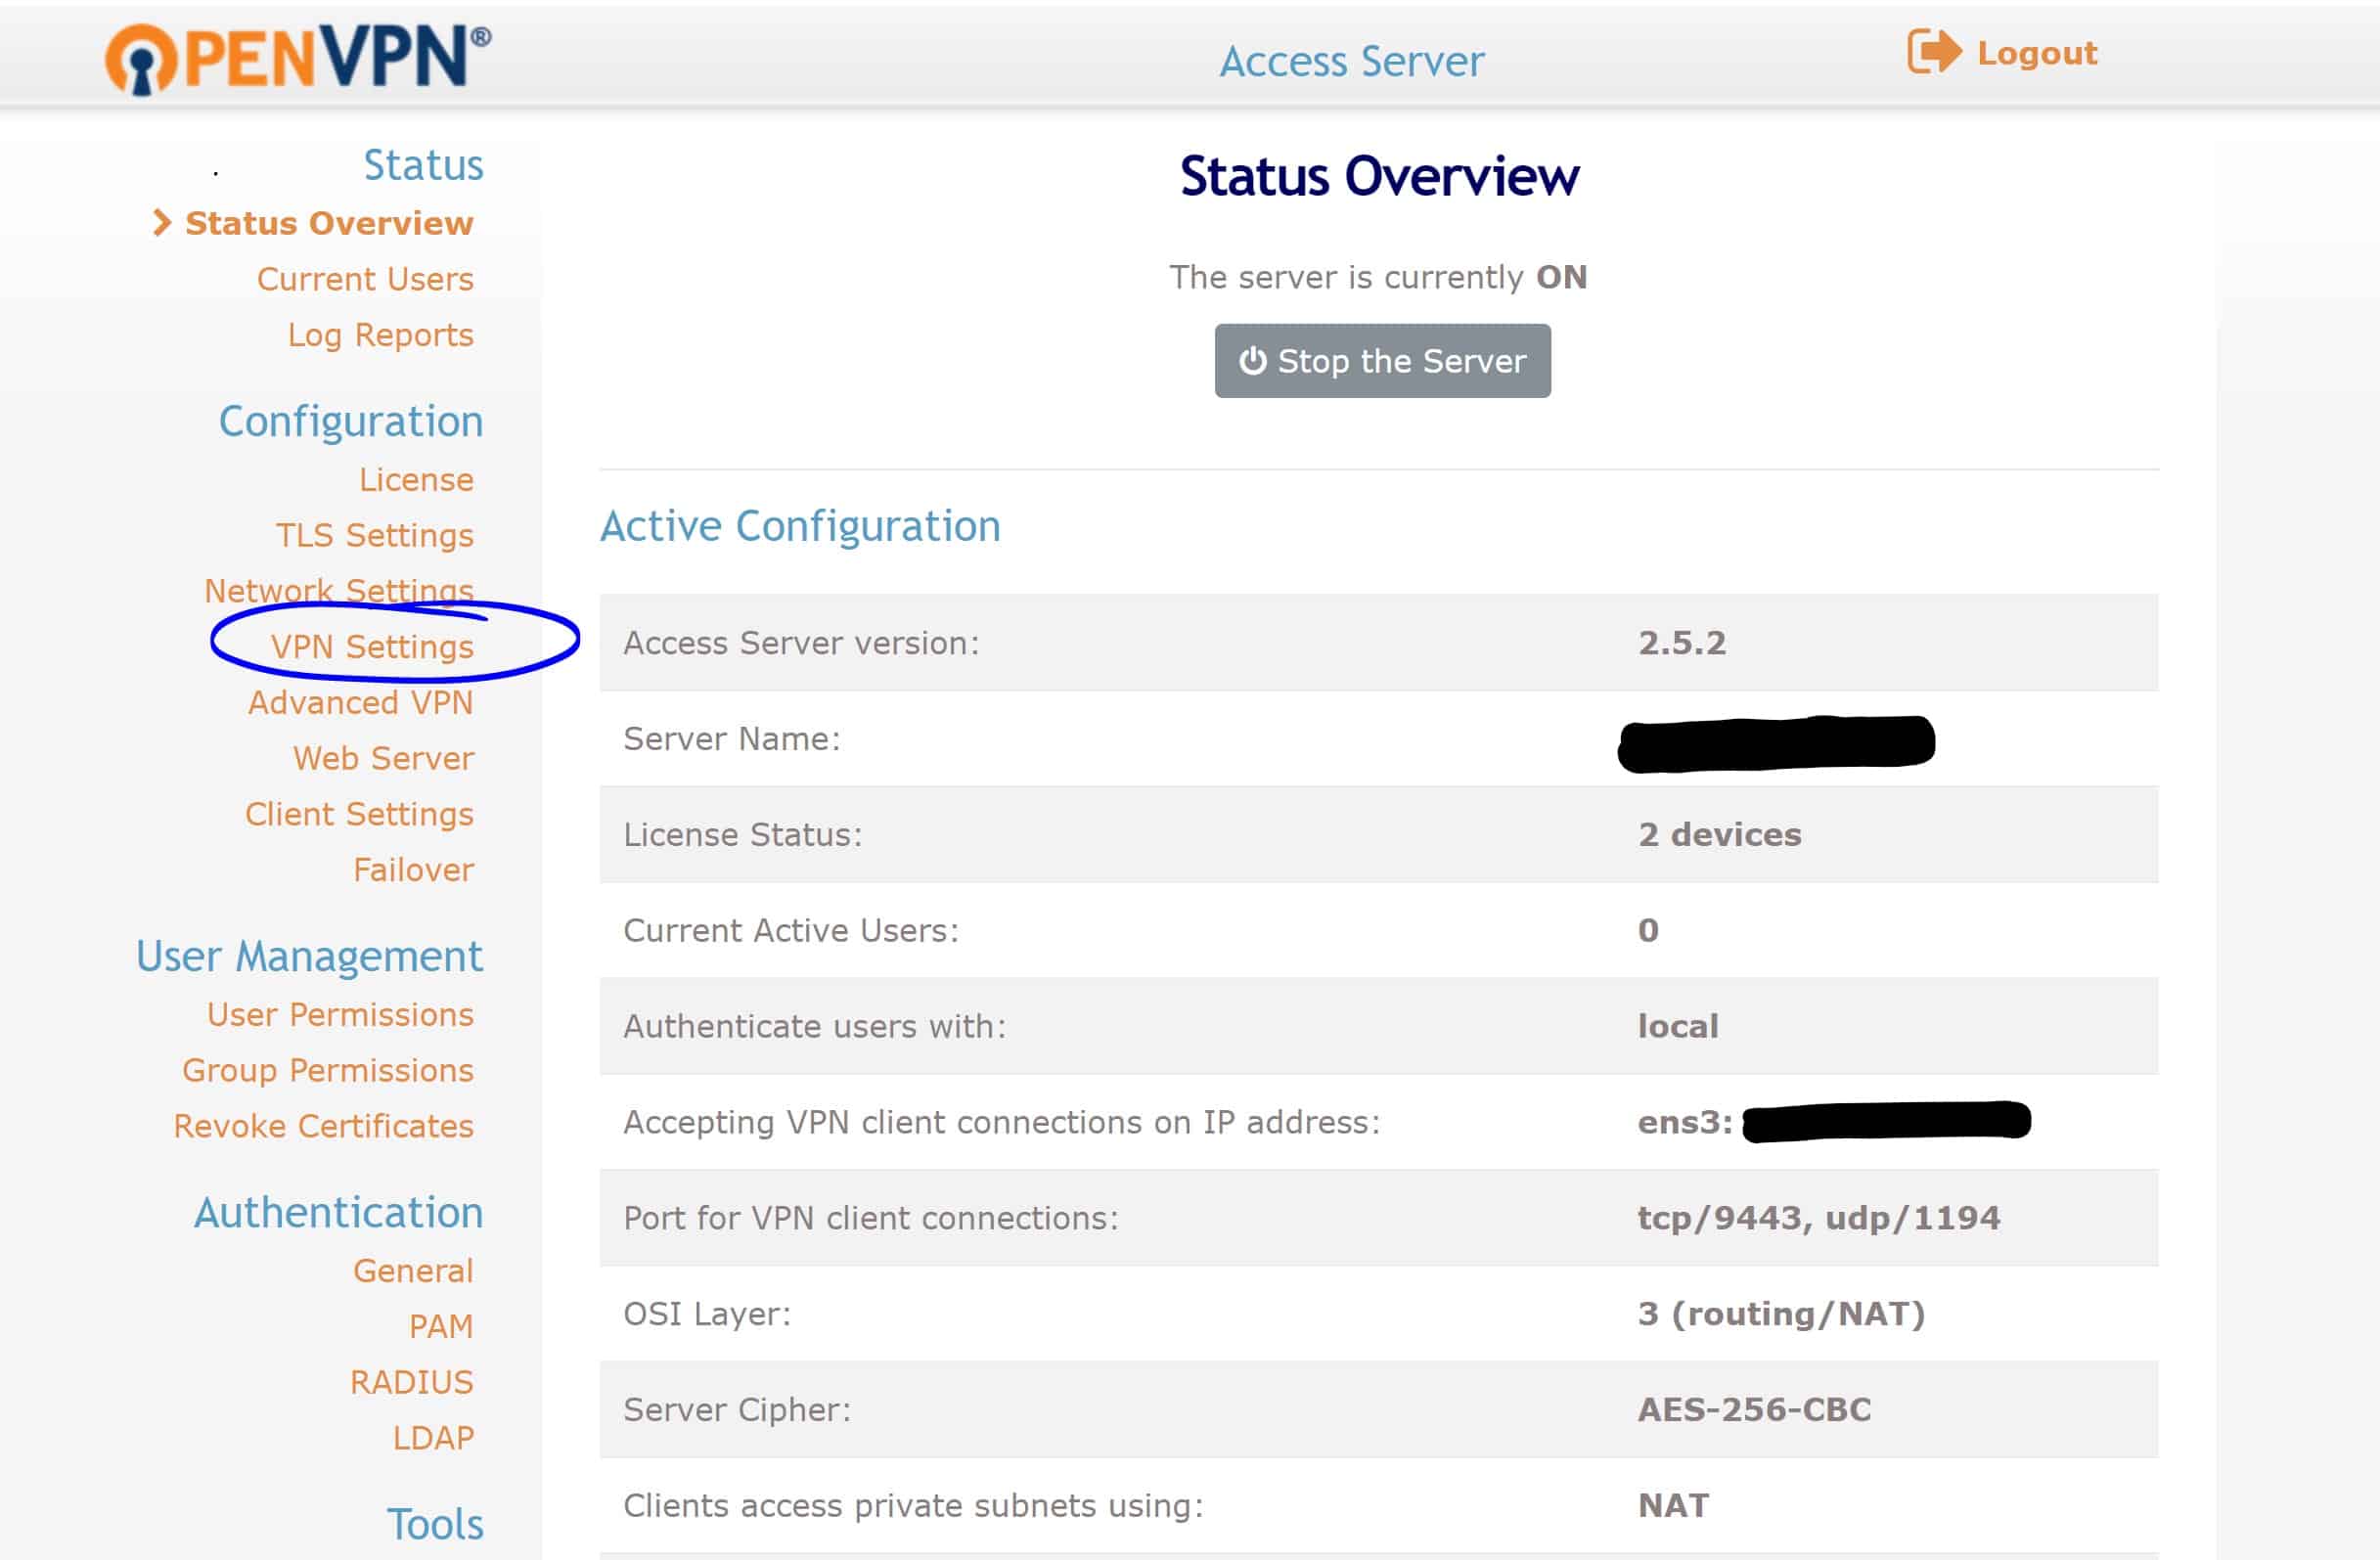
Configuring the DNS
Now that our server is up and running, we would want to configure the DNS in it. For more info on Domain Name Servers (DNS), please click here.
One of the fastest DNS servers is Google’s. I am going to configure that in my OpenVPN Access Server, so my clients are able to roam around websites easily.
I am going to the VPN settings and under DNS settings, I will enable “Have clients use specific DNS servers.”
Next, I will enter the following addresses in the DNS Server columns:
Primary DNS Server: 8.8.8.8
Secondary DNS Server: 8.8.8.4
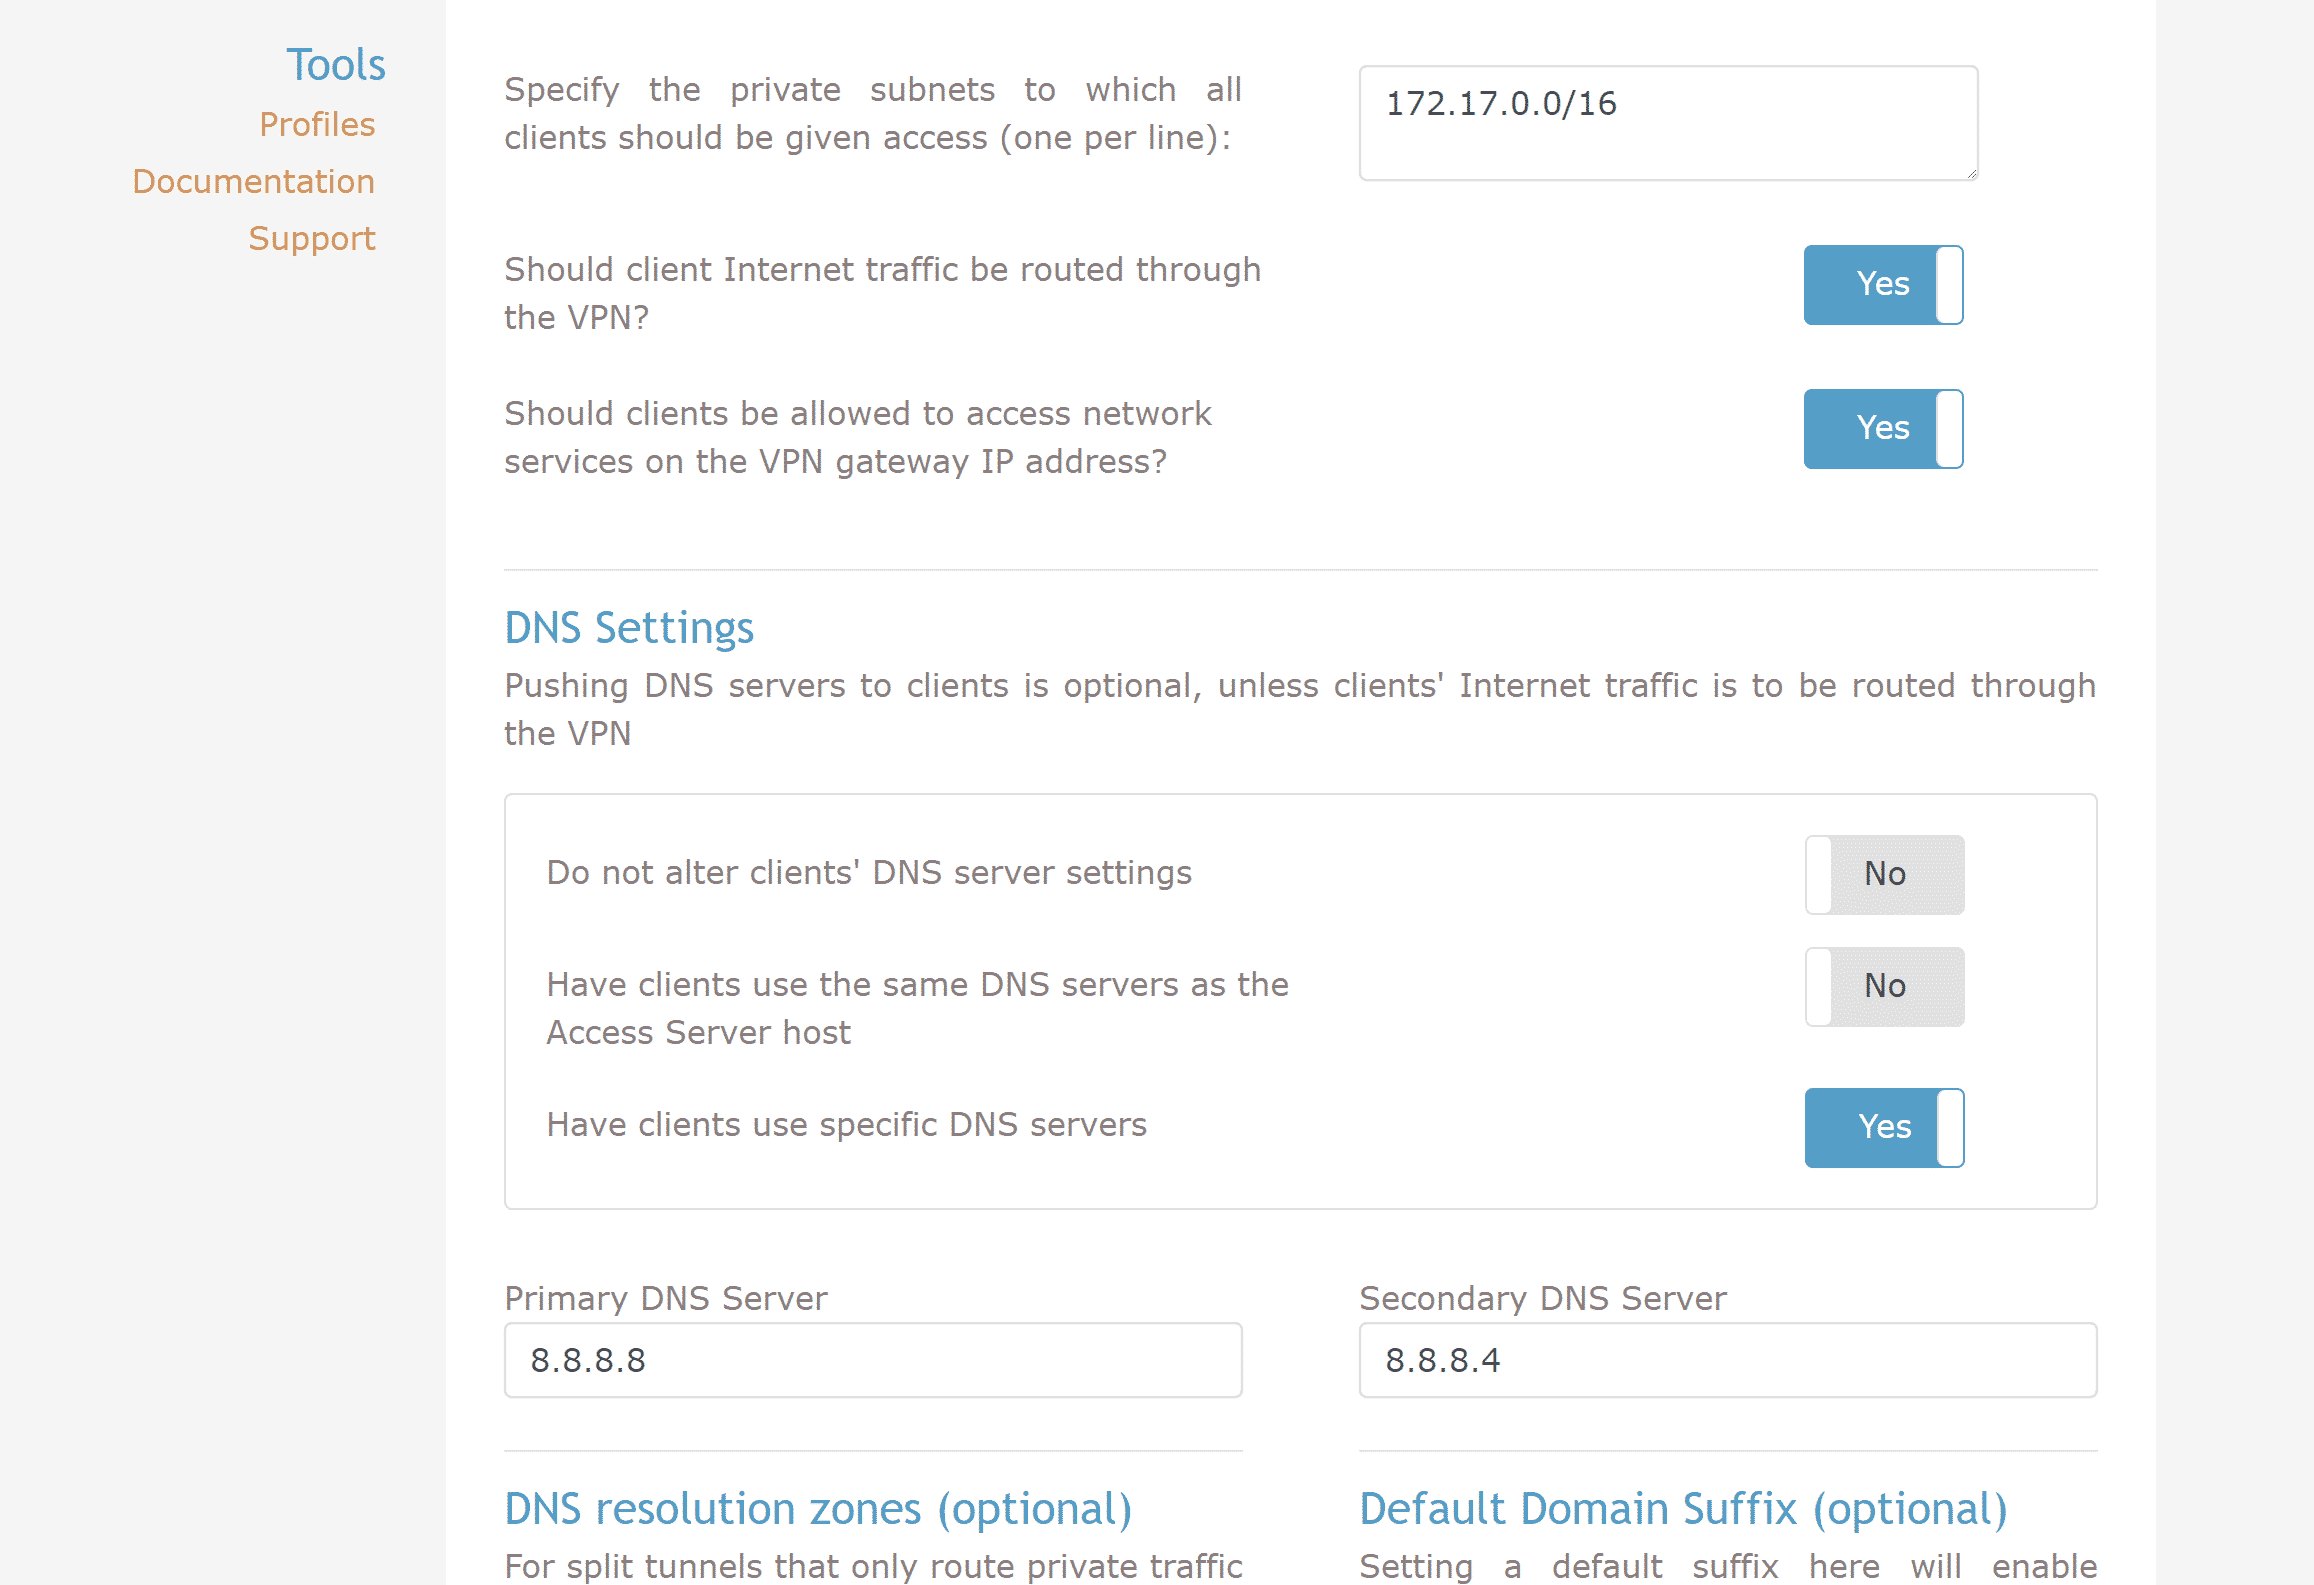
Save Settings and Click on “Update Running Server.” It will update the running Server.
Now that I’ve configured the server successfully, I can move towards connecting to the VPN through my system.
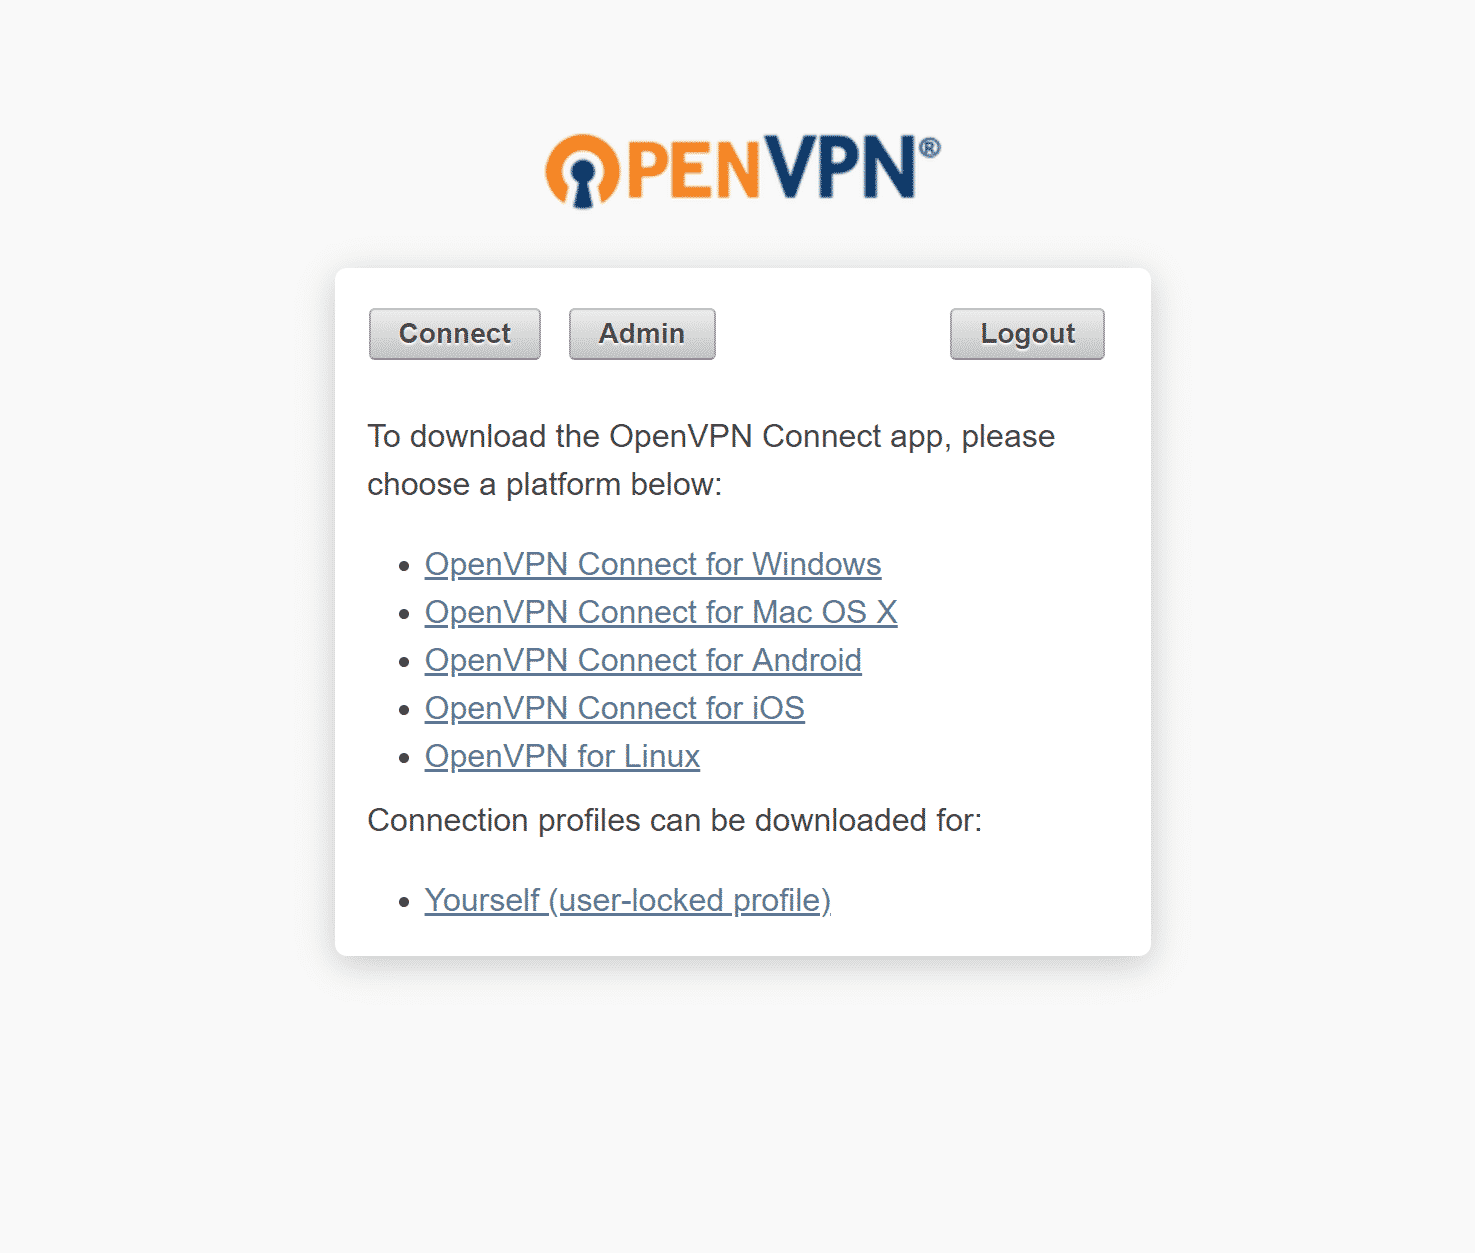
Accessing the client UI on: https://<<YourIpAddress>>:943.
Enter the admin username, password of the admin or create a new user from the admin panel’s User Management section.
Once I log into it, it will give me various options for different OS. I select Windows and download the Client software.
Now that it’s installed, I can start it from Start Menu or it will come automatically. From the system tray, I can connect to the VPN using the account I set up earlier.
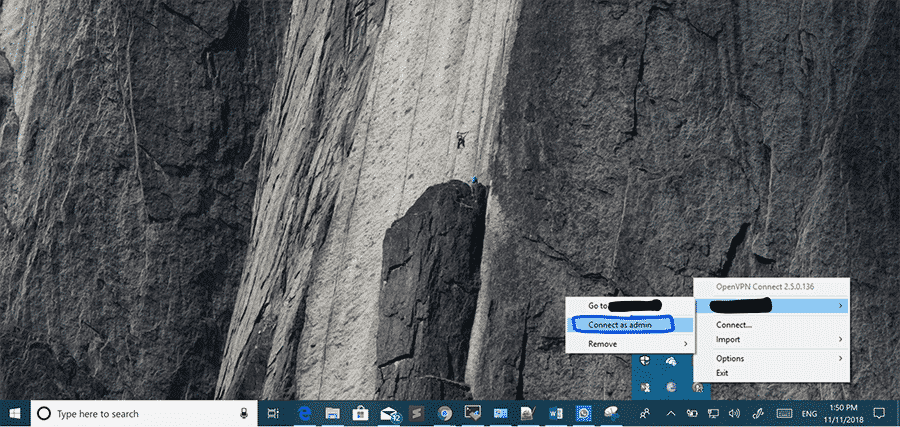
And I am connected to the VPN. Et Voila! This is how you create a VPN server under Docker.
- Removing Spaces in Python - March 24, 2023
- Is Kubernetes Right for Me? Choosing the Best Deployment Platform for your Business - March 10, 2023
- Cloud Provider of tomorrow - March 6, 2023
- SOLID: The First 5 Principles of Object-Oriented Design? - March 3, 2023
- Setting Up CSS and HTML for Your Website: A Tutorial - October 28, 2022